Airbnb Cleaning: How to Impress Your Guests

Person making bed with white linen in tidy bedroom.

Share This Post

Hosting on Airbnb is a fantastic way to share your space and earn some extra income. But to get those rave reviews and repeat guests, cleanliness is key. Let’s dive into some essential Airbnb cleaning tips that will make your property shine and keep your guests coming back for more.

First Impressions Matter

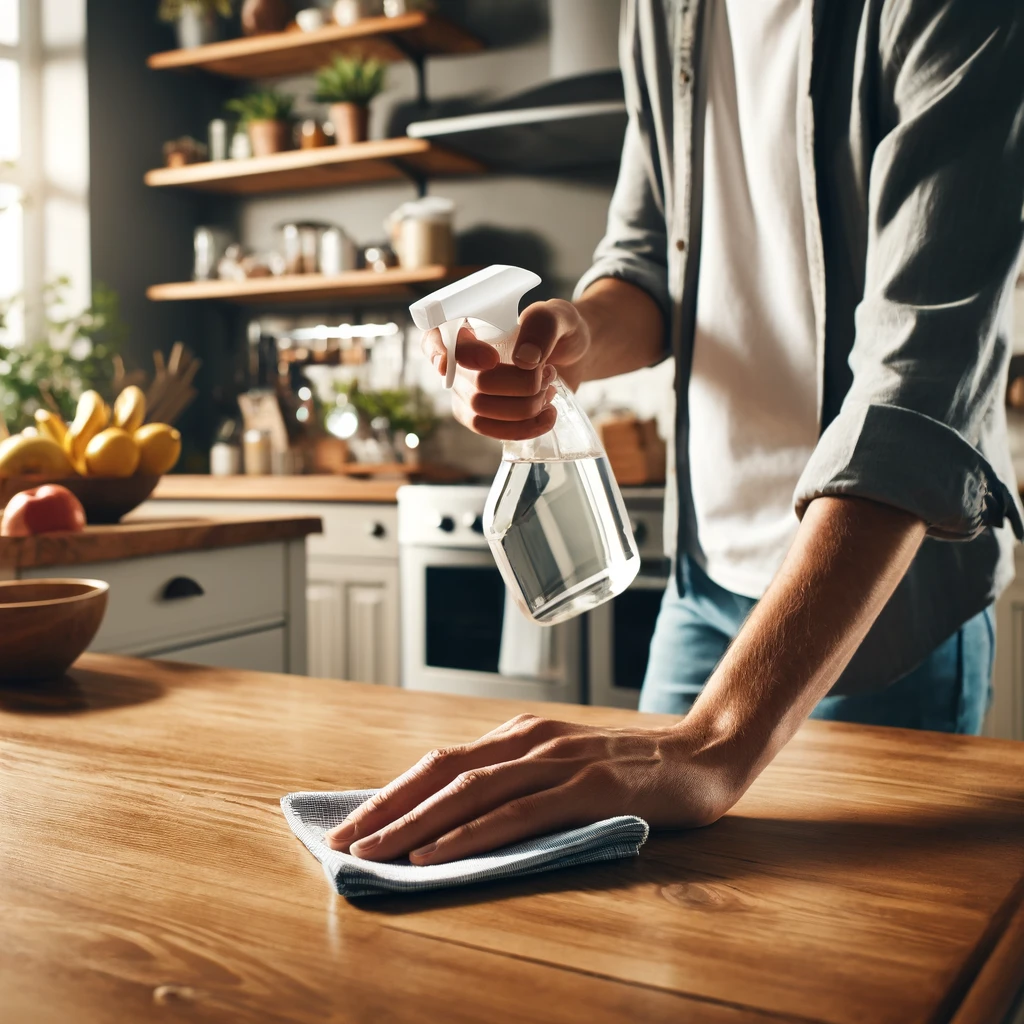
When guests walk into your Airbnb, the first thing they notice is how clean the space is. A spotless home sets the tone for a positive stay. This is why your Airbnb cleaning routine should start with the entrance and living areas. Sweeping the porch, shaking out the welcome mat, and ensuring there are no cobwebs or dust around the door can significantly impact the initial impression. Once inside, it’s essential to dust all surfaces, vacuum or mop the floors, and make sure the windows are clean and streak-free. These tasks may seem small, but they collectively contribute to creating a welcoming environment that guests will appreciate.

Lighting and ambiance play a crucial role in enhancing the overall feel of your Airbnb. Clean light fixtures and replace any burnt-out bulbs to ensure that every corner of your space is well-lit. A bright, well-lit space looks more inviting and spacious, making guests feel comfortable from the moment they step inside. Consider adding a pleasant scent with air fresheners or essential oils to create a welcoming atmosphere, but be careful to avoid overpowering fragrances that might be too strong for some guests. The right scent can make your Airbnb feel homier and more inviting, adding to the overall positive impression.

Maintaining a high standard of cleanliness and paying attention to these details will not only impress your guests but also encourage positive reviews and repeat bookings. First impressions are lasting, and a clean, inviting space is key to making those impressions count. Remember, successful Airbnb cleaning goes beyond just cleaning; it’s about creating an experience that makes guests feel at home and eager to return.


Pristine marble or granite kitchen countertop with reflective surface. Airbnb Cleaning


Kitchen: The Heart of the Home

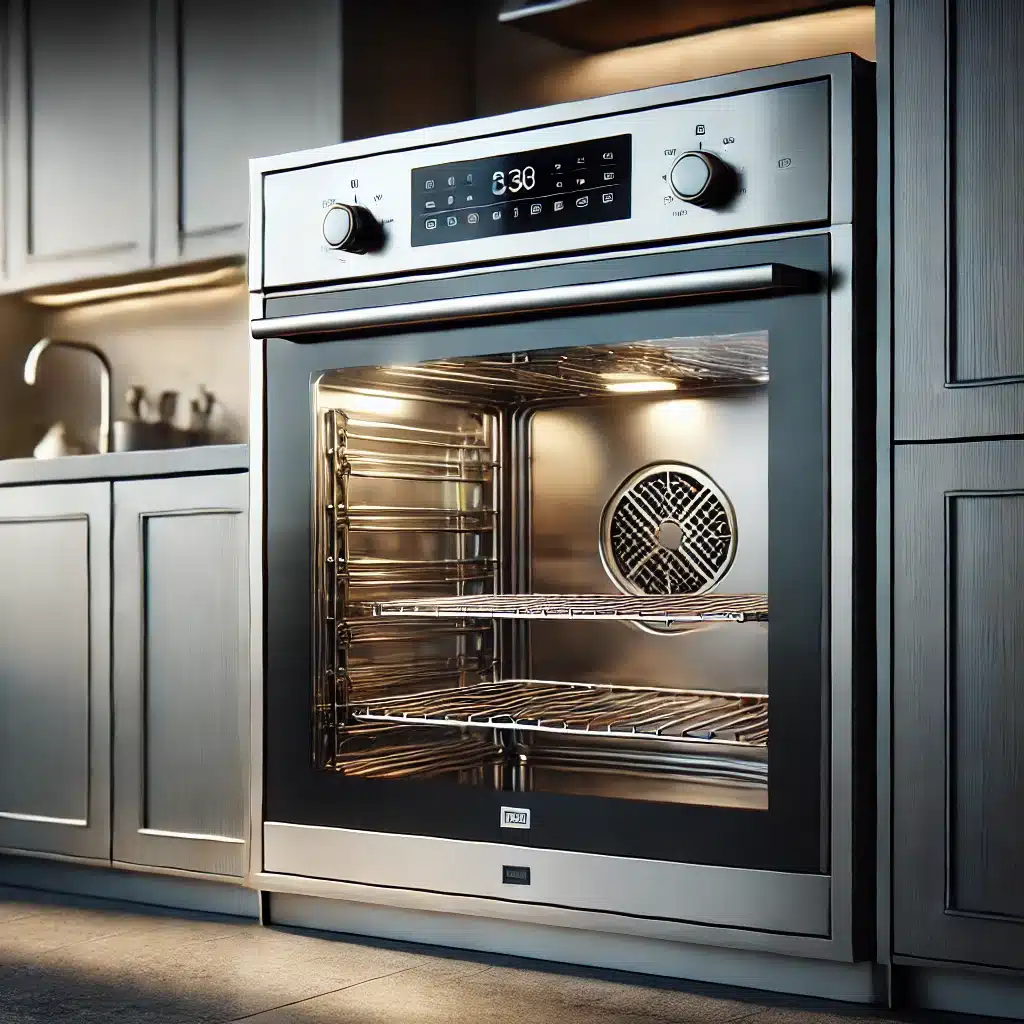
The kitchen is where many guests will spend a lot of time, so it needs to be immaculate. As part of your Airbnb cleaning routine, start by giving special attention to the appliances. Wiping down all appliances, both inside and out, is essential. Pay particular attention to the fridge, oven, and microwave, ensuring there are no food remnants or spills. A sparkling clean kitchen not only looks appealing but also reassures guests that your space is well-maintained and hygienic.

Beyond appliances, the cleanliness of counters and cabinets plays a crucial role in creating a welcoming kitchen environment. Clearing and wiping down counters eliminates any crumbs or sticky spots that can detract from the overall look. Open the cabinets and check for crumbs or dust, organizing them neatly and making sure all dishes, utensils, and cookware are clean and in their proper places. This level of detailed Airbnb cleaning shows guests that you care about their comfort and convenience, providing them with everything they need for a pleasant stay.

Trash and recycling management is another critical aspect of maintaining a clean kitchen. Empty all trash cans and recycling bins regularly, ensuring that they are spotless and free from any unpleasant odors. Provide extra bags and clear instructions on where guests can dispose of their waste. This not only keeps your kitchen clean but also helps guests feel at ease, knowing they have a convenient way to manage their trash. A meticulously cleaned kitchen stands out in guests’ minds, enhancing their overall experience and increasing the likelihood of positive reviews and repeat bookings.


Person cleaning kitchen counter with essential oil-infused cloth in a bright space.


Bedrooms: Comfort and Cleanliness

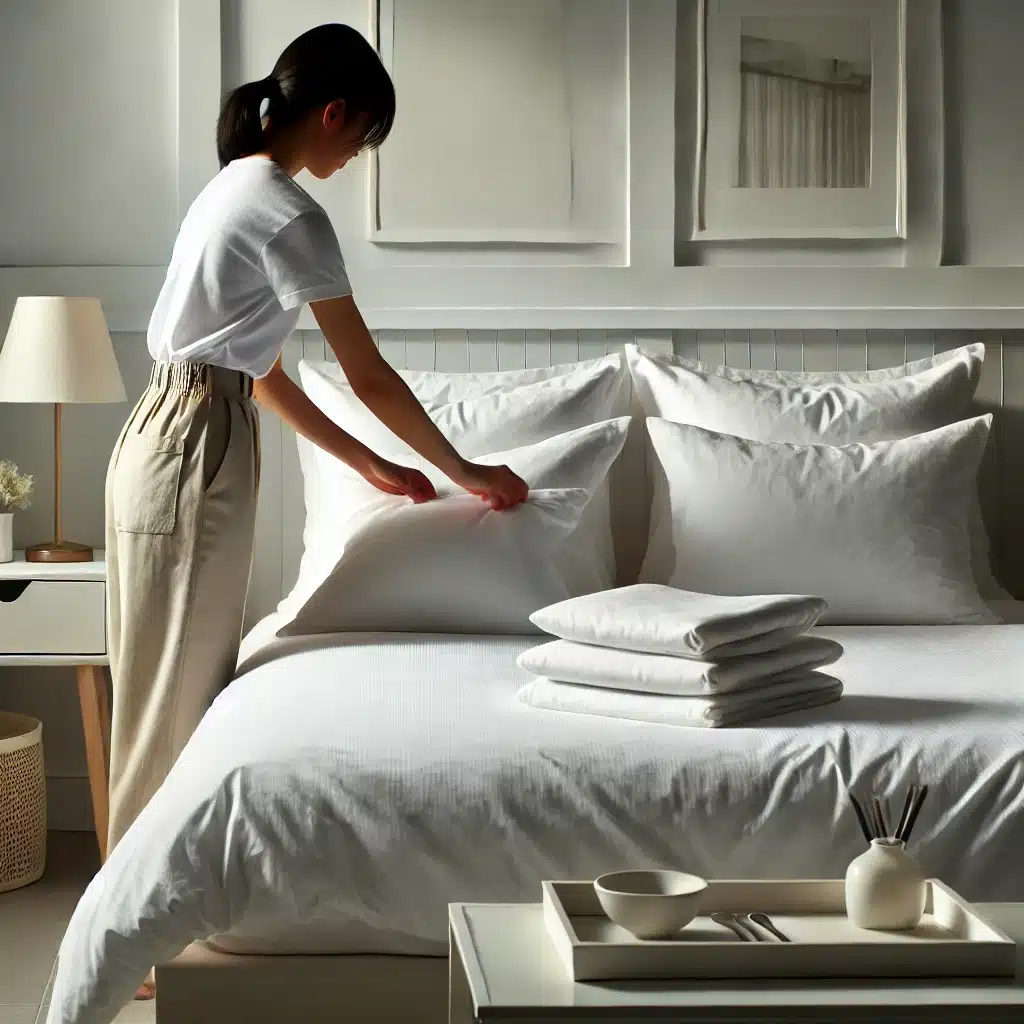
A clean, comfortable bedroom can significantly enhance your guests’ experience. When it comes to Airbnb cleaning, ensuring the bedroom is spotless and inviting is crucial. Start with the linens, as nothing speaks to comfort and cleanliness like fresh, crisp bedding. Always provide clean sheets, pillowcases, and duvet covers, making the bed neatly and ensuring there are no stains or wrinkles. The sight and feel of pristine linens can immediately make guests feel at ease and ready to relax.

Attention to surfaces is equally important in maintaining a clean and pleasant bedroom environment. Dust all surfaces, including nightstands, dressers, and headboards, to keep the room looking tidy and well-kept. Don’t forget to check under the bed for dust bunnies and other debris, as these often-overlooked areas can accumulate dirt and detract from the overall cleanliness. A thorough Airbnb cleaning routine should cover every nook and cranny, leaving no spot untouched. This level of detail shows guests that you care about their comfort and are committed to providing a top-notch experience.

Closets and drawers should also be clean and organized to accommodate your guests’ needs. Ensure there is ample space for guests to store their belongings by providing hangers and leaving some empty drawers. This small touch can make a big difference in how guests perceive your space. An organized closet allows guests to unpack and settle in comfortably, enhancing their overall stay.

Bathrooms: Spotless and Sanitized

Bathrooms must be thoroughly cleaned and sanitized to ensure a positive guest experience. As a crucial part of your Airbnb cleaning routine, focusing on the bathrooms can significantly impact how guests perceive your property. Start with the basics: scrubbing the toilets, sinks, and showers until they sparkle. It’s essential to remove all soap scum, mold, or mildew to maintain a pristine appearance. Providing fresh hand soap and toiletries is a small touch that can make guests feel pampered and well-cared-for, enhancing their overall stay.

In addition to the basic fixtures, paying close attention to mirrors and other shiny surfaces can elevate the bathroom’s cleanliness. Clean mirrors until they are streak-free, as spotless mirrors can make the bathroom look brighter and more inviting. Polish all fixtures so they shine, ensuring there are no fingerprints or water spots. These details, while small, play a significant role in the overall impression of cleanliness and care. A well-maintained bathroom reflects a high standard of Airbnb cleaning, showing guests that every detail matters.

Finally, never underestimate the impact of providing clean, fluffy towels and an array of toiletries. Stock the bathroom with extra toilet paper, shampoo, conditioner, and other essentials, ensuring guests have everything they need for their stay. Fresh towels add a touch of luxury and comfort, making guests feel at home. By maintaining high standards in your Airbnb cleaning practices, especially in the bathroom, you can create a spotless and sanitized space that leaves a lasting positive impression.

Finishing Touches

The little details can make a big difference when it comes to creating a memorable stay for your guests. As part of your comprehensive Airbnb cleaning routine, adding personal touches can elevate the guest experience significantly. Consider leaving a welcome note along with a small treat or a local guidebook. This thoughtful gesture not only shows your guests that you care about their experience but also provides them with valuable information about the area. These small acts of kindness can make guests feel more at home and appreciated, which can lead to positive reviews and return visits.

Ensuring the safety of your guests is paramount and should be a key component of your Airbnb cleaning and preparation process. Conduct regular safety checks to ensure all smoke detectors and carbon monoxide detectors are functioning correctly. Additionally, make sure all locks and windows are secure to provide peace of mind for your guests. These safety measures are not just about meeting legal requirements; they are about creating a secure environment where guests can relax and feel safe during their stay. Highlighting your commitment to safety can reassure guests and enhance their overall experience.

Maintaining high cleanliness standards between each guest is essential for consistent positive feedback. Implementing a thorough cleaning checklist helps ensure that nothing is overlooked during the turnover process. This checklist should cover all areas of the property, from dusting and vacuuming to sanitizing surfaces and replenishing supplies. By adhering to a rigorous Airbnb cleaning regimen, you demonstrate a commitment to providing a spotless and inviting space for every guest.


Airbnb Cleaning With Cleaning Hive

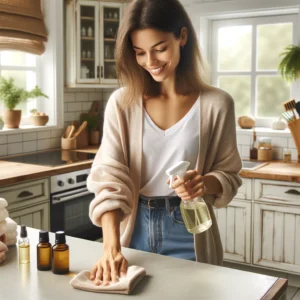
By focusing on these Airbnb cleaning tips, you can create a welcoming and spotless environment for your guests. Cleanliness sets the foundation for a positive guest experience, making your property more attractive and comfortable. Guests are more likely to leave glowing reviews and recommend your place to others when they find it meticulously maintained. A clean space not only impresses guests but also encourages positive reviews and repeat bookings, contributing significantly to your success as a host. Remember, happy guests are the best advertisement for your Airbnb.

In addition to implementing these cleaning tips, it’s essential to recognize when you might need professional assistance to maintain the highest standards. Consistent, thorough cleaning can be time-consuming and challenging, especially if you have multiple properties or a busy schedule. This is where professional services like Cleaning Hive come in. Specializing in Airbnb turnover cleaning, Cleaning Hive ensures your property is always in top shape. Their team of experienced cleaners pays attention to every detail, from dusting and vacuuming to sanitizing and restocking supplies, so you can focus on providing an exceptional guest experience without the hassle of daily cleaning.

For professional help to keep your Airbnb spotless and guest-ready, consider using Cleaning Hive’s services. They are dedicated to maintaining your property at its best, ensuring every guest walks into a pristine, welcoming space. With Cleaning Hive, you can rest easy knowing that your property will always be guest-ready, helping you maintain high ratings and achieve a steady flow of bookings.

More To Explore

Person cleaning kitchen table with vinegar spray in casual attire.
Blog

How to Clean High-Traffic Areas: 5 Simple Steps

High-traffic areas in your home, like hallways, living rooms, and kitchens, tend to get dirty quickly. These spots endure more foot traffic, spills, and general wear and tear, making regular cleaning essential to keep them looking fresh and tidy. Here are five simple steps to effectively clean these busy zones: 1. Declutter the Area Decluttering a high-traffic area is the first and most crucial step in the cleaning process. These busy zones in your home tend to accumulate a variety of items—shoes, bags, jackets, and other everyday belongings that can quickly clutter the space. Before you can effectively clean, it’s essential to remove these items to create a clear workspace. By clearing the clutter, not only do you make the cleaning process easier, but you also get a better sense of what areas need the most attention. This step sets the stage for a more thorough and efficient cleaning session, ensuring that every corner of your high-traffic area gets the care it needs. To streamline the decluttering process, consider using baskets or bins to temporarily hold out-of-place items. This approach helps you quickly gather and organize belongings without spending too much time sorting through them immediately. Once your cleaning is complete, you can then return these items to their proper places. This method not only speeds up the cleaning process but also helps maintain order in high-traffic areas, making them easier to manage on a daily basis. Keeping these areas free of unnecessary items will make regular cleaning simpler and more effective, ensuring that your high-traffic zones remain tidy and welcoming.     2. Vacuum Thoroughly Vacuuming thoroughly is an essential step when it comes to maintaining cleanliness in any high-traffic area. These spaces are magnets for dirt, dust, and debris, which can quickly accumulate and become embedded in carpets and rugs. A powerful vacuum with strong suction is your best ally in tackling this buildup. By making multiple passes over the area, you ensure that even the most stubborn particles are lifted from the surface. It’s important not to overlook the edges and corners of the room, as these spots often harbor hidden dust that can contribute to a less-than-pristine environment. When vacuuming a high-traffic area, especially if it includes carpets or rugs, utilizing the vacuum’s brush roll feature can significantly enhance the cleaning process. The brush roll agitates the carpet fibers, loosening ground-in dirt and allowing the vacuum to pick it up more effectively. This is particularly crucial in areas where foot traffic is heavy, as the repeated pressure can push dirt deep into the fibers. Ensuring that your vacuum is set to the appropriate mode for the surface you’re cleaning not only improves the efficiency of your efforts but also helps maintain the longevity of your flooring, keeping your high-traffic areas looking fresh and clean for longer.     3. Spot Clean Stains In high-traffic areas, spills and stains are practically unavoidable, given the constant movement and activity these spaces endure. The key to maintaining the appearance of these areas is prompt action. As soon as you notice a spill or stain, it’s essential to address it immediately before it has a chance to set. High-traffic areas can quickly become unsightly if stains are left untreated, as they are more prone to additional dirt and wear. Selecting the appropriate cleaner for the specific surface is crucial—whether it’s carpet, tile, or hardwood. Gently blotting the stain, rather than rubbing it, helps to lift the spill without spreading it further, which is particularly important in maintaining the look and longevity of the flooring in these busy zones. For carpets in high-traffic areas, a simple solution of warm water mixed with mild dish soap can be highly effective in tackling a variety of common stains. This mixture works well to break down the stain without being overly harsh on the fibers. On the other hand, hardwood floors require special care, as using the wrong cleaning product can damage the finish. A cleaner specifically formulated for wood is recommended to gently lift stains while preserving the floor’s protective coating. Regularly spot cleaning in high-traffic areas not only keeps these spaces looking their best but also prevents long-term damage that could result from neglecting spills and stains. By staying vigilant and addressing issues as they arise, you can maintain a clean and welcoming environment in even the busiest parts of your home. 4. Mop or Deep Clean the Floors After thoroughly vacuuming and spot cleaning, the next essential step in maintaining a high-traffic area is to mop or deep clean the floors. These areas endure significant wear and tear, so regular mopping or deep cleaning is vital to remove the deeper dirt and grime that vacuuming alone cannot address. For tile or laminate flooring, using a damp mop with a mild cleaner is effective in lifting dirt and leaving the surface clean and streak-free. This routine not only enhances the appearance of your high-traffic area but also helps to preserve the integrity of the flooring by removing abrasive particles that can cause scratches over time. When it comes to carpets in a high-traffic area, a deeper clean may be necessary to rejuvenate the fibers and remove embedded dirt that vacuuming might miss. Utilizing a carpet cleaner or steam cleaner can be particularly beneficial, as these tools penetrate deep into the carpet fibers, lifting out grime and restoring the carpet’s appearance. It’s important to be cautious with the amount of water used during the cleaning process, especially if you’re mopping. A mop should be damp rather than soaking wet, as excess water can seep into the flooring and cause damage, particularly with hardwood floors, where too much moisture can lead to warping or discoloration. By carefully managing the cleaning process, you can ensure that your high-traffic areas remain clean, attractive, and in good condition, despite the constant use they experience.     5. Maintain with Regular Touch-Ups Maintaining cleanliness in a high-traffic area requires a consistent routine of regular touch-ups. These busy

A clean oven
Blog

How to Deep Clean Oven: 5 Simple Tips

If you’ve ever opened your oven and been greeted by a smoky haze or a burnt smell, it’s probably time for a deep clean. Keeping your oven in tip-top shape is essential not just for hygiene but also for the quality of your cooking. Here are five simple tips to help you deep clean your oven and get it looking (and smelling) brand new. A sparkling clean oven not only looks great but also ensures your meals taste their best. However, deep cleaning your oven can be a daunting task if you don’t know where to start. Luckily, with a little know-how, you can tackle this job like a pro. Here are five simple tips to deep clean your oven and get it looking brand new—without using baking soda or vinegar. 1. Preheat and Loosen Grime The first step to a successful deep clean of your oven is to focus on loosening up the stubborn grime that accumulates over time. To start, preheat your oven to a low temperature, around 200°F (93°C), and let it warm up for about 15 minutes. This gentle heating process serves to soften the baked-on grease and food spills that have become caked onto the oven’s surfaces, making them much easier to tackle in the cleaning process that follows. By warming the oven just enough, you create an environment where the grime begins to loosen its grip, allowing for more effective cleaning with minimal effort. This step is crucial because it prepares the oven for a more thorough deep clean, ensuring that when you move on to the next phases, the dirt and grease won’t put up as much of a fight. Once the oven has been preheated and allowed to cool slightly, it’s in the perfect state to proceed with your deep cleaning routine. The warmth not only softens the grime but also helps any cleaning agents you apply afterward to penetrate and break down the stubborn residues more efficiently. This initial step sets the stage for a more manageable and less labor-intensive cleaning process, ultimately leading to a sparkling clean oven that’s free from the buildup that can affect its performance. By taking the time to properly loosen grime at the outset, you ensure that your efforts to deep clean your oven are more effective, leaving you with an appliance that looks and functions like new. 2. Apply a Commercial Oven Cleaner After you’ve prepared your oven by loosening the grime, the next critical step in your deep clean oven process is to apply a commercial oven cleaner. These cleaners are specially formulated to break down tough grease and stubborn residues that have accumulated over time. When choosing a cleaner, it’s essential to pick one that’s suitable for your specific oven type. For instance, if you have a self-cleaning or non-stick model, ensure that the product is compatible to avoid any potential damage. Once you’ve selected the right cleaner, apply it generously across all interior surfaces of the oven, taking care to avoid spraying the heating elements directly. The goal here is to cover every area where grease and grime tend to build up, including the walls, floor, and even the door. Allow the commercial cleaner to sit for the amount of time recommended by the manufacturer, typically between 15 to 30 minutes. This waiting period is crucial as it gives the cleaner enough time to penetrate the layers of baked-on food and grease, breaking them down effectively. As the cleaner works its magic, it loosens the tough stains and residues, making them easier to wipe away later. By following these instructions carefully, you ensure that your deep clean oven routine is both safe and effective, leaving your appliance sparkling clean and ready for use. This step not only enhances the cleanliness of your oven but also contributes to its overall efficiency and longevity, ensuring that it continues to perform at its best. 3. Use a Scraper for Stubborn Spots Once the oven cleaner has had sufficient time to break down the grime, it’s time to address any remaining stubborn spots with a scraper. A plastic scraper or spatula is ideal for this task, as it effectively lifts off the baked-on residues without damaging the surface of your oven. These stubborn spots often accumulate on the oven floor and sides, where food spills are most likely to occur and become hardened over time. By using a scraper, you can gently lift away these tough patches of grime, making your deep clean oven process even more thorough. When using the scraper, it’s important to be gentle and deliberate in your movements to avoid scratching the interior surfaces. Always scrape in a direction that pulls the debris toward you, rather than pushing it further into the oven. This technique not only protects the oven’s surface but also ensures that you’re effectively removing the loosened grime. By carefully working through these tough spots, you’ll be able to restore the oven’s interior to a pristine condition. This step is crucial in achieving a deep clean oven, as it addresses the areas that even the best cleaners might struggle to tackle on their own, leaving you with a truly spotless appliance.     4. Soak and Scrub Oven Racks As you embark on the deep clean oven process, it’s essential not to overlook the oven racks, which often accumulate as much grease and grime as the interior of the oven itself. Start by carefully removing the racks from the oven and placing them in a large sink or bathtub filled with hot, soapy water. The hot water helps to loosen the baked-on residues, while the soap breaks down the grease, making it easier to scrub away later. Allow the racks to soak for several hours, or even overnight if they are particularly grimy. This soaking period is crucial, as it gives the cleaning agents time to penetrate and soften the tough buildup that has adhered to the racks over time. Once the racks have soaked sufficiently, it’s

Ready for a housekeeping?

drop us a line and keep in touch