5 Essential Cleaning Hacks for Your Kitchen

Maid in white uniform cleaning modern kitchen with stainless steel surfaces.

Share This Post

When it comes to keeping your kitchen spick and span, sometimes the old routines need a little shaking up. Whether you’re a culinary enthusiast or someone who prefers quick meals, a clean kitchen is a happy kitchen. Below, I’ll share five essential cleaning hacks that will help make your kitchen cleaning efforts more efficient and effective.

1. Steam Clean Your Microwave

To start, find a microwave-safe bowl and fill it with about a cup of water. To enhance the cleaning power and add a pleasant fragrance, add a few slices of lemon, lime, or even orange. If you prefer, a splash of vinegar can be used as an alternative to citrus slices. The acidic properties of both lemon and vinegar are excellent at breaking down grease and neutralizing odors.

Place the bowl in the microwave and set it to high for approximately five minutes. The goal here is to allow the water to boil and create steam that will envelop the inside of the microwave. This steam will cling to the walls and top of the microwave, tackling the grime and loosening any hardened food particles.

Once the microwave stops, don’t open the door immediately. Let the bowl sit for a few more minutes to let the steam continue working. This extra time makes a significant difference, ensuring that even the toughest spots soften enough to be wiped away easily.

Afterwards, carefully remove the hot bowl (be sure to use oven mitts to avoid burns). Take a cloth or sponge and simply wipe down the inside of the microwave. You’ll find that the residues come off effortlessly, and if there are any particularly stubborn spots, a second round of steaming might be necessary—but without the need for aggressive scrubbing.

2. Deodorize the Garbage Disposal with Citrus Peels

One common source of unpleasant odors in the kitchen is the garbage disposal. Given its crucial role in kitchen hygiene and waste management, keeping it fresh is essential. A natural and effective way to maintain a pleasant scent in your kitchen is by using citrus peels in your garbage disposal.

Citrus peels, such as those from lemons, limes, oranges, or grapefruits, contain natural oils that are not only fragrant but also have antibacterial properties. These oils help combat the bacteria that can cause bad smells. Using these peels is a smart and eco-friendly method to refresh your disposal.

To implement this hack, simply save the peels from any citrus fruits you consume. Instead of tossing these peels into the trash or compost, place them directly into the garbage disposal. Run cold water from the tap (cold water helps solidify any grease inside so it can be chopped up more effectively), turn on the disposal, and let it run for about 30 to 60 seconds.

The grinding action of the disposal will release the citrus oils, effectively coating the blades and the inner workings of the disposal unit. This not only clears out lingering food residues that might be stuck and causing odors but also leaves behind a pleasant, citrusy scent that can help deodorize your entire kitchen.

In addition to their deodorizing properties, citrus peels can also serve as a gentle abrasive. They help clean the grinding elements in the disposal, ensuring it operates more efficiently. Over time, this can extend the life of your disposal unit by preventing build-up and ensuring it runs smoothly.


Person in Safety Gear Cleaning Cluttered Garage


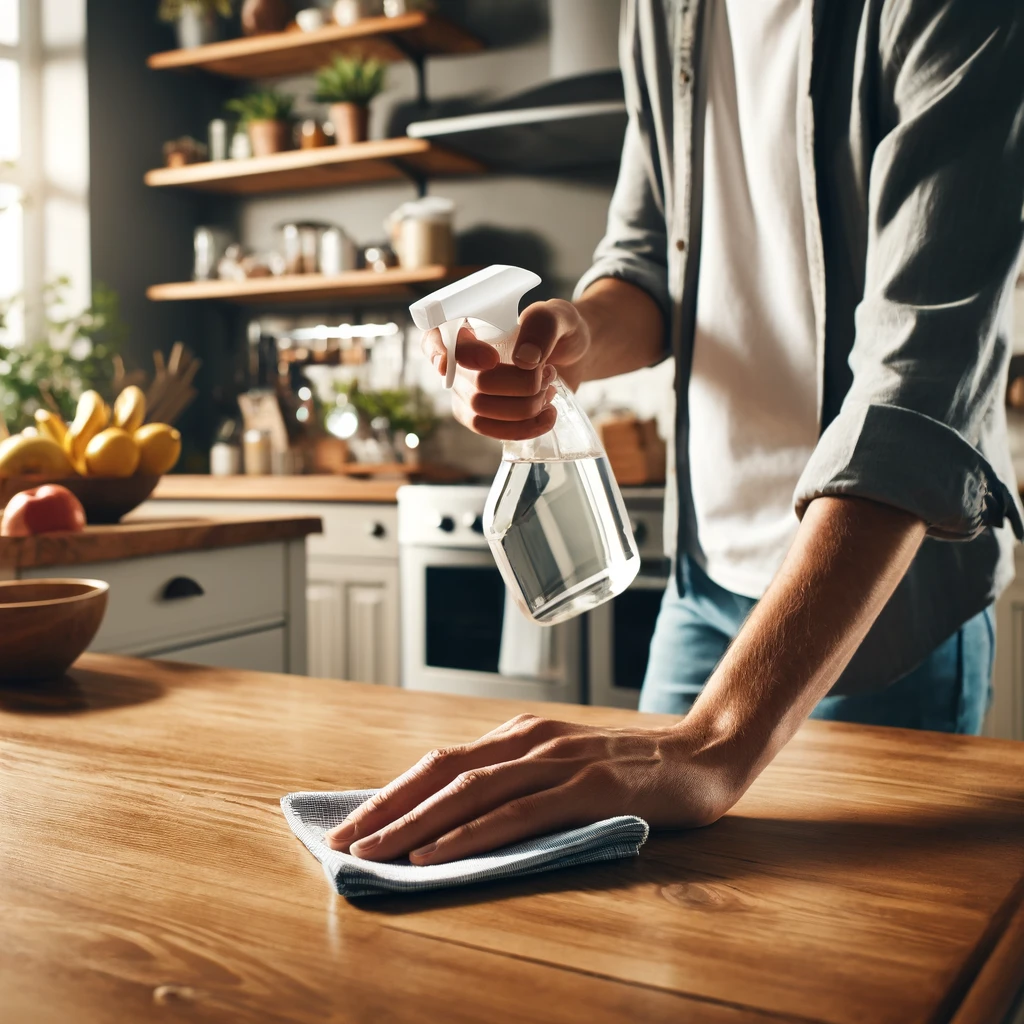
3. DIY All-Purpose Kitchen Cleaner

Creating your own all-purpose kitchen cleaner is not only economical but also environmentally friendly. This simple DIY project can lead to a powerful cleaning agent capable of tackling the toughest grease and grime in your kitchen. The core ingredients—water, vinegar, and essential oils—are typically staples in many households, making this cleaner easy to whip up on a whim.

You’ll need a clean spray bottle, which will serve as the container for your homemade solution. Vinegar, the main cleaning component, is known for its natural disinfectant properties. When diluted with water, it becomes a gentle yet effective cleaner suitable for a variety of surfaces in your kitchen, from countertops to appliances.

For every part of vinegar, use an equal part of water to balance the acidity, ensuring it’s tough on stains but not harsh on your surfaces. The addition of a few drops of essential oil not only masks the sharp scent of vinegar but also adds a therapeutic aroma to your kitchen space. Lemon essential oil is particularly popular for its fresh, invigorating scent and additional grease-cutting properties. Alternatively, lavender can be used for a calming and soothing fragrance, which makes cleaning a more pleasant experience.

Mix these ingredients directly in the spray bottle for ease of use. Shake well to ensure the vinegar and oils are thoroughly combined. This mixture is now ready to be used just like any other commercial kitchen cleaner but without the harsh chemicals and additives. Simply spray it onto any kitchen surface such as countertops, stovetops, and even the exterior of appliances. Wipe with a clean cloth or sponge to remove everyday dirt, food particles, and oily residues.

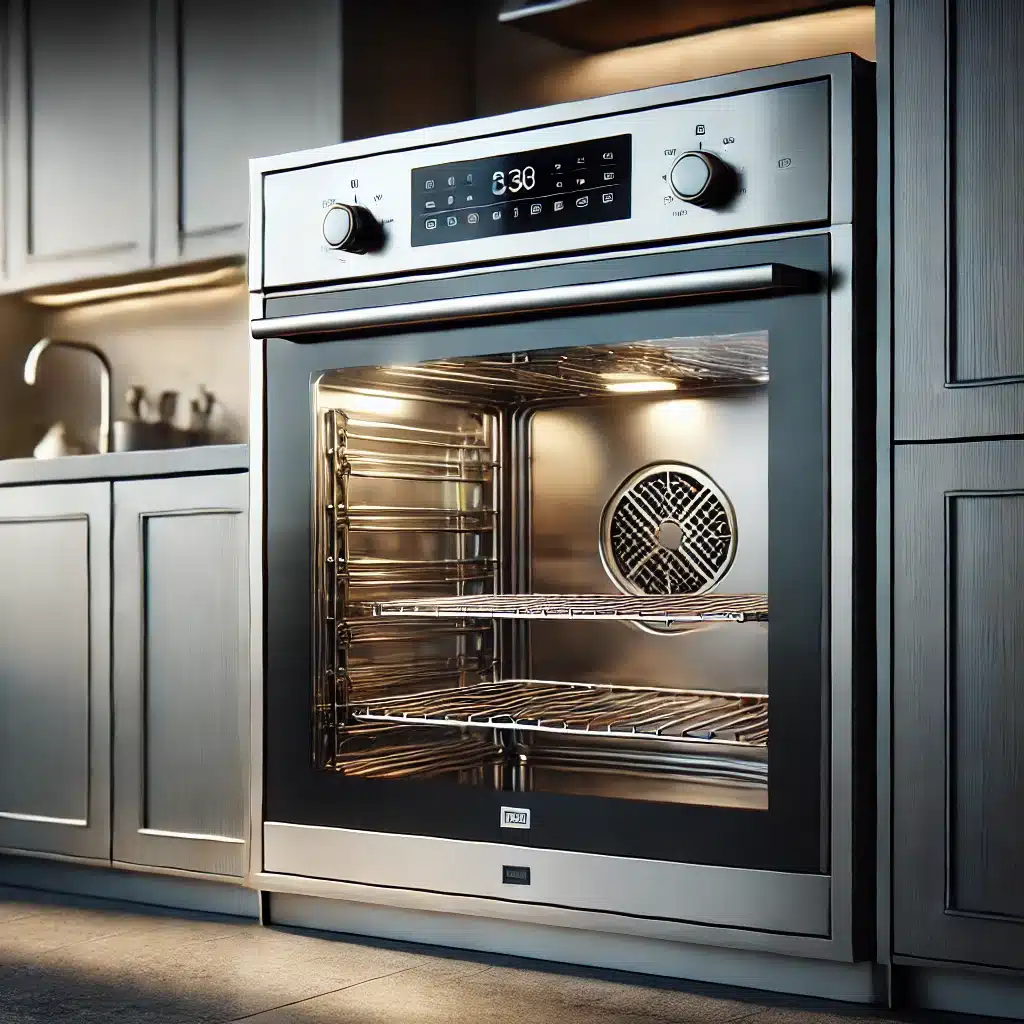
4. Quickly Clean Stainless Steel Appliances

Stainless steel appliances add a sleek and modern touch to any kitchen, but they are also notorious for showing every fingerprint and smudge. Keeping them clean and shiny doesn’t have to be a chore with the right approach. A simple homemade solution and a couple of common household items can keep your appliances looking their best.

Create a cleaning solution of vinegar and water. The acetic acid in vinegar makes it an effective natural cleaner that can cut through grease and lift away fingerprints without the need for harsh chemicals. Mix equal parts of vinegar and water in a spray bottle for easy application. This blend is gentle enough to use on stainless steel without damaging the finish.

To clean your appliances, lightly mist the vinegar solution over the surface of your stainless steel. Then, take a microfiber cloth, which is soft and non-abrasive, and wipe down the appliances. The microfiber is effective at trapping dirt and oil, as well as buffing the surface without leaving streaks or scratches.

For an extra shine, especially if you’re dealing with stubborn smudges or if you want to give your appliances a glossy look, olive oil is an excellent choice. Place a few drops of olive oil onto a paper towel and gently rub it into the stainless steel surface. This will not only polish the steel but also lay down a thin layer of oil that helps repel future fingerprints and dust, keeping your appliances cleaner for longer.

5. Utilize Baking Soda for Tough Stains

Baking soda is a powerhouse in the realm of home cleaning, especially in the kitchen where stains can be stubborn and plentiful. Whether it’s a spilt cup of coffee on the countertop or a hard-to-remove sauce stain on the kitchen table, baking soda offers a gentle yet effective cleaning solution.

To tackle tough stains, start by making a paste. Mix three parts baking soda with one part water to create a thick, spreadable paste. This ratio ensures that the paste is substantial enough to stick to vertical surfaces if necessary, making it versatile for all areas of your kitchen.

Apply this paste directly onto the stain on your countertop or kitchen table. The natural abrasiveness of baking soda works to lift stains without scratching the surface, which is particularly important for delicate materials like marble or polished wood. Let the paste sit on the stain for about 15-20 minutes. During this time, the baking soda will penetrate the stain, breaking down the molecular bonds that make it so difficult to remove.

After the time has elapsed, take a soft brush or cloth and gently scrub the area. The slight abrasiveness of the baking soda acts like a mild sandpaper, targeting just the stain without damaging the finish of your countertop or table. For tougher stains, a second application may be necessary, but often, a single treatment is sufficient.


Kitchen, baking soda in a pot on a kitchen


Kitchen Cleaned as Never!

Implementing these simple yet effective kitchen cleaning hacks can save you time and make your kitchen a cleaner, more inviting space. Don’t let the dread of cleaning keep you out of your kitchen. Try these tips and see just how easy maintaining a pristine kitchen can be! These methods not only enhance cleanliness but also help in creating a welcoming atmosphere where you can enjoy cooking and dining without the burden of messes and clutter.

However, sometimes, despite your best efforts, deeper grime and persistent issues may require more than a DIY approach. When home remedies aren’t enough to tackle the tougher challenges, it’s worth considering professional help. This is where a dedicated service like Cleaning Hive steps in. With their expertise in comprehensive kitchen cleaning, they can manage everything from degreasing hard-to-reach spots to sanitizing surfaces, ensuring your kitchen is not just clean but hygienic too.

To truly keep your kitchen—the heart of your home—in top condition, check out Cleaning Hive’s range of services. They offer tailored cleaning solutions that cater specifically to your needs, ensuring that your space is comfortable, clean, and ready for your next culinary adventure.

More To Explore

Person cleaning kitchen table with vinegar spray in casual attire.
Blog

How to Clean High-Traffic Areas: 5 Simple Steps

High-traffic areas in your home, like hallways, living rooms, and kitchens, tend to get dirty quickly. These spots endure more foot traffic, spills, and general wear and tear, making regular cleaning essential to keep them looking fresh and tidy. Here are five simple steps to effectively clean these busy zones: 1. Declutter the Area Decluttering a high-traffic area is the first and most crucial step in the cleaning process. These busy zones in your home tend to accumulate a variety of items—shoes, bags, jackets, and other everyday belongings that can quickly clutter the space. Before you can effectively clean, it’s essential to remove these items to create a clear workspace. By clearing the clutter, not only do you make the cleaning process easier, but you also get a better sense of what areas need the most attention. This step sets the stage for a more thorough and efficient cleaning session, ensuring that every corner of your high-traffic area gets the care it needs. To streamline the decluttering process, consider using baskets or bins to temporarily hold out-of-place items. This approach helps you quickly gather and organize belongings without spending too much time sorting through them immediately. Once your cleaning is complete, you can then return these items to their proper places. This method not only speeds up the cleaning process but also helps maintain order in high-traffic areas, making them easier to manage on a daily basis. Keeping these areas free of unnecessary items will make regular cleaning simpler and more effective, ensuring that your high-traffic zones remain tidy and welcoming.     2. Vacuum Thoroughly Vacuuming thoroughly is an essential step when it comes to maintaining cleanliness in any high-traffic area. These spaces are magnets for dirt, dust, and debris, which can quickly accumulate and become embedded in carpets and rugs. A powerful vacuum with strong suction is your best ally in tackling this buildup. By making multiple passes over the area, you ensure that even the most stubborn particles are lifted from the surface. It’s important not to overlook the edges and corners of the room, as these spots often harbor hidden dust that can contribute to a less-than-pristine environment. When vacuuming a high-traffic area, especially if it includes carpets or rugs, utilizing the vacuum’s brush roll feature can significantly enhance the cleaning process. The brush roll agitates the carpet fibers, loosening ground-in dirt and allowing the vacuum to pick it up more effectively. This is particularly crucial in areas where foot traffic is heavy, as the repeated pressure can push dirt deep into the fibers. Ensuring that your vacuum is set to the appropriate mode for the surface you’re cleaning not only improves the efficiency of your efforts but also helps maintain the longevity of your flooring, keeping your high-traffic areas looking fresh and clean for longer.     3. Spot Clean Stains In high-traffic areas, spills and stains are practically unavoidable, given the constant movement and activity these spaces endure. The key to maintaining the appearance of these areas is prompt action. As soon as you notice a spill or stain, it’s essential to address it immediately before it has a chance to set. High-traffic areas can quickly become unsightly if stains are left untreated, as they are more prone to additional dirt and wear. Selecting the appropriate cleaner for the specific surface is crucial—whether it’s carpet, tile, or hardwood. Gently blotting the stain, rather than rubbing it, helps to lift the spill without spreading it further, which is particularly important in maintaining the look and longevity of the flooring in these busy zones. For carpets in high-traffic areas, a simple solution of warm water mixed with mild dish soap can be highly effective in tackling a variety of common stains. This mixture works well to break down the stain without being overly harsh on the fibers. On the other hand, hardwood floors require special care, as using the wrong cleaning product can damage the finish. A cleaner specifically formulated for wood is recommended to gently lift stains while preserving the floor’s protective coating. Regularly spot cleaning in high-traffic areas not only keeps these spaces looking their best but also prevents long-term damage that could result from neglecting spills and stains. By staying vigilant and addressing issues as they arise, you can maintain a clean and welcoming environment in even the busiest parts of your home. 4. Mop or Deep Clean the Floors After thoroughly vacuuming and spot cleaning, the next essential step in maintaining a high-traffic area is to mop or deep clean the floors. These areas endure significant wear and tear, so regular mopping or deep cleaning is vital to remove the deeper dirt and grime that vacuuming alone cannot address. For tile or laminate flooring, using a damp mop with a mild cleaner is effective in lifting dirt and leaving the surface clean and streak-free. This routine not only enhances the appearance of your high-traffic area but also helps to preserve the integrity of the flooring by removing abrasive particles that can cause scratches over time. When it comes to carpets in a high-traffic area, a deeper clean may be necessary to rejuvenate the fibers and remove embedded dirt that vacuuming might miss. Utilizing a carpet cleaner or steam cleaner can be particularly beneficial, as these tools penetrate deep into the carpet fibers, lifting out grime and restoring the carpet’s appearance. It’s important to be cautious with the amount of water used during the cleaning process, especially if you’re mopping. A mop should be damp rather than soaking wet, as excess water can seep into the flooring and cause damage, particularly with hardwood floors, where too much moisture can lead to warping or discoloration. By carefully managing the cleaning process, you can ensure that your high-traffic areas remain clean, attractive, and in good condition, despite the constant use they experience.     5. Maintain with Regular Touch-Ups Maintaining cleanliness in a high-traffic area requires a consistent routine of regular touch-ups. These busy

A clean oven
Blog

How to Deep Clean Oven: 5 Simple Tips

If you’ve ever opened your oven and been greeted by a smoky haze or a burnt smell, it’s probably time for a deep clean. Keeping your oven in tip-top shape is essential not just for hygiene but also for the quality of your cooking. Here are five simple tips to help you deep clean your oven and get it looking (and smelling) brand new. A sparkling clean oven not only looks great but also ensures your meals taste their best. However, deep cleaning your oven can be a daunting task if you don’t know where to start. Luckily, with a little know-how, you can tackle this job like a pro. Here are five simple tips to deep clean your oven and get it looking brand new—without using baking soda or vinegar. 1. Preheat and Loosen Grime The first step to a successful deep clean of your oven is to focus on loosening up the stubborn grime that accumulates over time. To start, preheat your oven to a low temperature, around 200°F (93°C), and let it warm up for about 15 minutes. This gentle heating process serves to soften the baked-on grease and food spills that have become caked onto the oven’s surfaces, making them much easier to tackle in the cleaning process that follows. By warming the oven just enough, you create an environment where the grime begins to loosen its grip, allowing for more effective cleaning with minimal effort. This step is crucial because it prepares the oven for a more thorough deep clean, ensuring that when you move on to the next phases, the dirt and grease won’t put up as much of a fight. Once the oven has been preheated and allowed to cool slightly, it’s in the perfect state to proceed with your deep cleaning routine. The warmth not only softens the grime but also helps any cleaning agents you apply afterward to penetrate and break down the stubborn residues more efficiently. This initial step sets the stage for a more manageable and less labor-intensive cleaning process, ultimately leading to a sparkling clean oven that’s free from the buildup that can affect its performance. By taking the time to properly loosen grime at the outset, you ensure that your efforts to deep clean your oven are more effective, leaving you with an appliance that looks and functions like new. 2. Apply a Commercial Oven Cleaner After you’ve prepared your oven by loosening the grime, the next critical step in your deep clean oven process is to apply a commercial oven cleaner. These cleaners are specially formulated to break down tough grease and stubborn residues that have accumulated over time. When choosing a cleaner, it’s essential to pick one that’s suitable for your specific oven type. For instance, if you have a self-cleaning or non-stick model, ensure that the product is compatible to avoid any potential damage. Once you’ve selected the right cleaner, apply it generously across all interior surfaces of the oven, taking care to avoid spraying the heating elements directly. The goal here is to cover every area where grease and grime tend to build up, including the walls, floor, and even the door. Allow the commercial cleaner to sit for the amount of time recommended by the manufacturer, typically between 15 to 30 minutes. This waiting period is crucial as it gives the cleaner enough time to penetrate the layers of baked-on food and grease, breaking them down effectively. As the cleaner works its magic, it loosens the tough stains and residues, making them easier to wipe away later. By following these instructions carefully, you ensure that your deep clean oven routine is both safe and effective, leaving your appliance sparkling clean and ready for use. This step not only enhances the cleanliness of your oven but also contributes to its overall efficiency and longevity, ensuring that it continues to perform at its best. 3. Use a Scraper for Stubborn Spots Once the oven cleaner has had sufficient time to break down the grime, it’s time to address any remaining stubborn spots with a scraper. A plastic scraper or spatula is ideal for this task, as it effectively lifts off the baked-on residues without damaging the surface of your oven. These stubborn spots often accumulate on the oven floor and sides, where food spills are most likely to occur and become hardened over time. By using a scraper, you can gently lift away these tough patches of grime, making your deep clean oven process even more thorough. When using the scraper, it’s important to be gentle and deliberate in your movements to avoid scratching the interior surfaces. Always scrape in a direction that pulls the debris toward you, rather than pushing it further into the oven. This technique not only protects the oven’s surface but also ensures that you’re effectively removing the loosened grime. By carefully working through these tough spots, you’ll be able to restore the oven’s interior to a pristine condition. This step is crucial in achieving a deep clean oven, as it addresses the areas that even the best cleaners might struggle to tackle on their own, leaving you with a truly spotless appliance.     4. Soak and Scrub Oven Racks As you embark on the deep clean oven process, it’s essential not to overlook the oven racks, which often accumulate as much grease and grime as the interior of the oven itself. Start by carefully removing the racks from the oven and placing them in a large sink or bathtub filled with hot, soapy water. The hot water helps to loosen the baked-on residues, while the soap breaks down the grease, making it easier to scrub away later. Allow the racks to soak for several hours, or even overnight if they are particularly grimy. This soaking period is crucial, as it gives the cleaning agents time to penetrate and soften the tough buildup that has adhered to the racks over time. Once the racks have soaked sufficiently, it’s

Ready for a housekeeping?

drop us a line and keep in touch