Keeping your bathroom spick and span doesn’t need to be a chore that drags on for hours. Whether you’re dealing with soap scum on the shower doors or a dingy toilet bowl, these seven easy steps will help you tackle the task efficiently and leave your bathroom looking pristine. So grab your gloves, and let’s dive into making your bathroom shine!
Step 1: Declutter and Organize
Before you dive into the nitty-gritty of scrubbing and cleaning, start by clearing out all the personal items, bottles, and other containers that clutter your bathroom surfaces. This includes everything from shampoos and conditioners to skincare products and razors. It’s a good idea to remove these items from the bathroom entirely or place them in a basket so you can clean the surfaces underneath without obstructions.
As you declutter, take a moment to go through these items and discard anything that’s no longer needed. Toss out those empty bottles that have been sitting in the corner of the shower or the expired products hiding in your vanity. Not only does this make the actual cleaning process easier, but it also helps you keep track of what supplies you might need to restock.
After removing unnecessary items, quickly organize what remains. This could mean arranging products into categories, wiping down and replacing containers neatly, or even adjusting the layout of your toiletries for better accessibility. A well-organized bathroom not only looks cleaner but also feels more inviting. By taking the time to declutter and organize first, you ensure that your cleaning efforts are more effective and your bathroom maintains its neat appearance longer.
Step 2: Dust and Sweep
Begin your bathroom cleaning process by tackling the dust that tends to accumulate on various surfaces. Using a duster or a microfiber cloth, start by gently wiping down all the light fixtures, which can collect a surprising amount of dust and dirt over time. Pay special attention to areas like the tops of medicine cabinets, window sills, and shelves, which are often overlooked during regular cleanings.
Don’t skip the air vents and exhaust fans, as these can become clogged with dust, reducing their efficiency and potentially contributing to mold growth in damp areas like bathrooms. Make sure to reach into all the corners and along the ceiling edges where cobwebs often form. A long-handled duster can be particularly handy for reaching these higher spots without the need for stepping stools or ladders.
Once you’ve dusted all the surfaces, it’s time to focus on the floor. Start by sweeping thoroughly to collect any hair, dust, and other debris that might have settled on the floor. Pay extra attention to the areas around the base of the toilet, under the sink, and other hard-to-reach spots that are prone to accumulating grime. For a more thorough clean, you might also opt to use a vacuum cleaner to ensure that all particles are picked up, especially in grout lines or textured flooring where dirt can easily hide.
Step 3: Clean the Shower and Bathtub
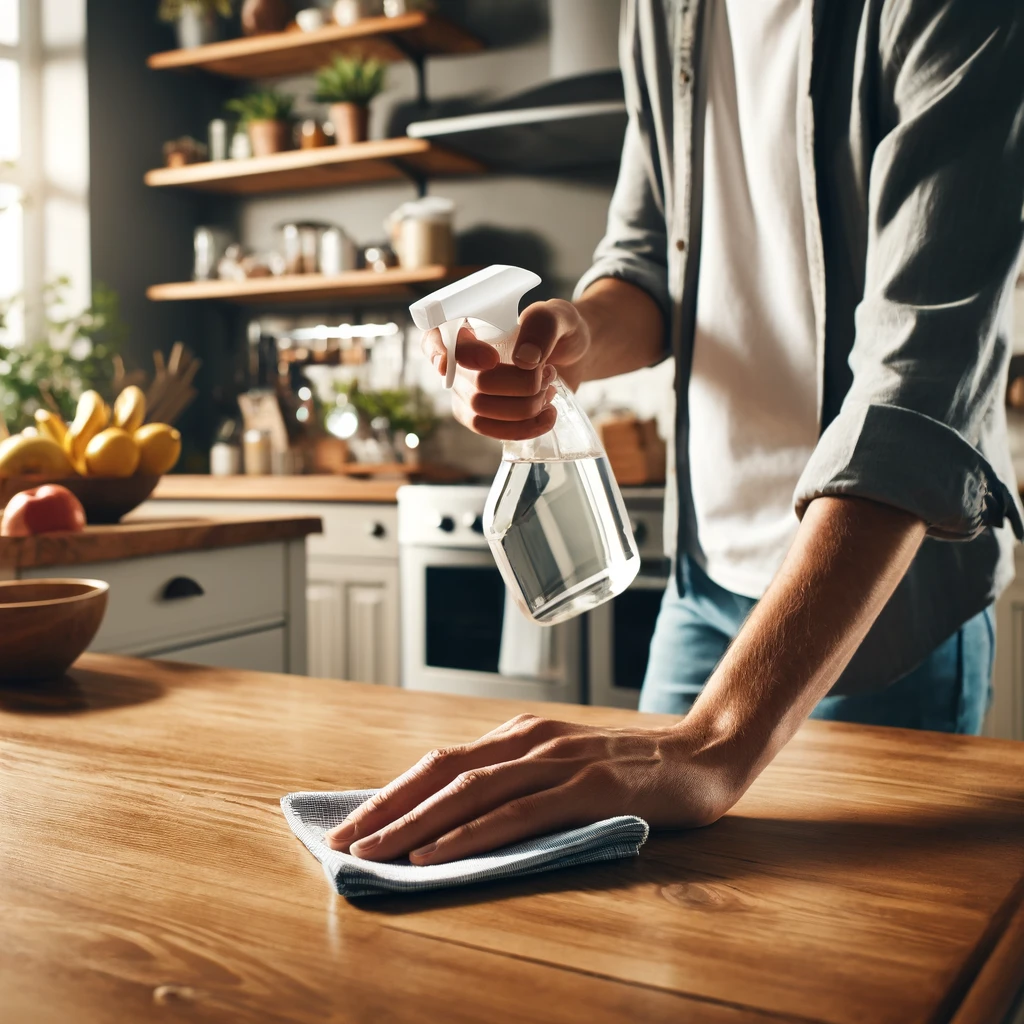
To ensure your bathroom’s shower and bathtub are thoroughly clean and sparkling, start by generously applying a bathroom cleaner designed to combat soap scum and mineral deposits. These specialized cleaners are formulated to adhere to surfaces and penetrate the grime, making your scrubbing efforts more effective. After spraying, allow the cleaner to sit for a few minutes. This dwell time is crucial as it softens the soap scum and loosens the mineral buildup, enabling easier removal.
Once the cleaner has had time to work its magic, take a non-scratch sponge or brush and start scrubbing the surfaces. Focus on areas that frequently come into contact with water, as these tend to have the most buildup. Pay particular attention to the corners and near the drain where hair and soap residue commonly accumulate.
If you encounter areas with particularly stubborn grime, a natural solution like a paste made from vinegar and baking soda can be particularly effective. Apply this paste directly onto the grime, let it sit for about ten minutes, and then scrub. The abrasive texture of the baking soda combined with the dissolving power of vinegar makes for a potent cleaning duo, especially useful for tackling tough stains and leaving your bathtub and shower looking new.
After scrubbing, it’s important to rinse all surfaces thoroughly with water. Ensure that no traces of cleaner or homemade paste remain, as these can leave residues that may attract more dirt or irritate the skin. A handheld shower head can be very helpful in this step, allowing you to direct the water flow over all surfaces and into every corner for a complete rinse.
Step 4: Tackle the Toilet
A thorough bathroom cleaning session wouldn’t be complete without giving the toilet a good scrub. Start by sprinkling a generous amount of toilet bowl cleaner into the bowl. These cleaners are specially formulated to tackle tough stains and kill bacteria and viruses that are commonly found in bathrooms. Allow the cleaner to sit for several minutes—this waiting period is essential as it helps the cleaner penetrate and break down the stains and kill germs effectively.
While the bowl cleaner is doing its job, turn your attention to the outer parts of the toilet. Using disinfectant wipes or a spray, meticulously wipe down the entire exterior of the toilet, including less noticeable areas like the back of the base and the underside of the seat. These areas can accumulate a lot of unseen grime and bacteria. Make sure to clean around the flushing handle as well. Since it’s frequently touched, the handle can be a significant hotspot for germs.
Once the exterior is clean and the bowl cleaner has had enough time to work, take a toilet brush and scrub the inside of the bowl thoroughly. Pay special attention to the rim and any other hard-to-reach areas where water deposits and other residues tend to accumulate. Scrub vigorously to ensure that all the stains and bacteria are removed.
Step 5: Clean the Sink and Countertops
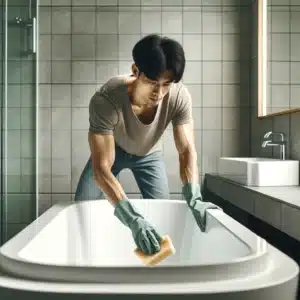
Maintaining a spotless bathroom involves giving your sink and countertops a thorough clean. Start by applying a quality bathroom cleaner designed to tackle grime and build-up on these surfaces. These cleaners are excellent for removing soap scum, toothpaste splatters, and other residues that commonly accumulate in these areas. Ensure that the cleaner is evenly distributed over the sink and countertop, covering all the areas that need attention.
Using a soft sponge or cloth, begin to gently scrub the sink and countertops. It’s important to use a non-abrasive tool to avoid scratching the surfaces, especially if they are made of delicate materials like marble or granite. Focus your efforts on areas around the faucet and the drain, which are prone to collecting a build-up of soap residue, hair, and sometimes even mildew. These areas require extra attention because they frequently come into contact with water and can harbor bacteria.
After you’ve thoroughly scrubbed the sink and countertops, it’s time to rinse everything clean. Use fresh water to wash away all traces of the cleaner, ensuring that no residue is left behind. This step is crucial for preventing any cleaning solution from leaving marks or reducing the shine of your bathroom fixtures.
Finish by wiping down all the surfaces with a clean, dry cloth. This will remove any remaining moisture and leave your sink and countertops looking shiny and new.

Step 6: Wipe Mirrors and Glass
Achieving a streak-free shine on the mirrors and glass in your bathroom can transform the space, making it look brighter and more expansive. Begin by creating a cleaning solution composed of one part vinegar to four parts water. This homemade solution is particularly effective at cutting through grime and leaving a sparkling finish without the use of harsh chemicals. If you prefer, a commercial glass cleaner can also be used for this step; these are often formulated to prevent streaking and can provide a quick and effective clean.
Spray your chosen cleaner generously onto the mirrors and any other glass surfaces in the bathroom, such as glass shower doors or glass shelving units. Make sure to cover the entire surface to dissolve all the fingerprints, water spots, and splatters that typically accumulate.
Once you’ve applied the cleaning solution, take a lint-free cloth or a piece of newspaper to wipe the surfaces. These materials are excellent for cleaning glass because they don’t leave behind any fibers that could cause streaking or smudging. Begin at the top of the surface and wipe in a zigzag or circular motion, applying even pressure to remove all the cleaner along with any dirt.
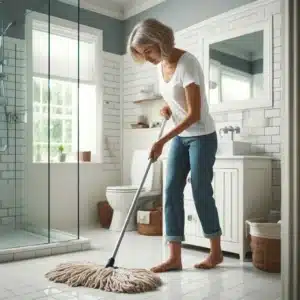
Step 7: Mop the Floor
The final step in cleaning your bathroom effectively involves giving the floor a thorough mop. This not only removes the last traces of dirt and grime but also sanitizes the space, contributing to a cleaner and more hygienic environment. Start by choosing a bathroom floor cleaner specifically designed for the type of flooring you have, whether it’s tile, linoleum, or another material. These cleaners are formulated to handle the moisture and bacteria common in bathroom settings and can help maintain the integrity and appearance of the flooring.
Begin mopping by targeting high-traffic areas and spots prone to accumulating dirt, such as around the toilet and in the corners of the bathroom. These areas can harbor more bacteria and grime, making them critical points to focus on. As you mop, make sure to rinse the mop head frequently in clean water. This prevents the spread of dirty water and ensures that you are effectively removing dirt rather than just moving it around.
Ensure that you cover every part of the bathroom floor, moving furniture if necessary to reach underneath vanities or behind the toilet. Be thorough in your approach, using enough cleaner and water to leave the floor not just visibly clean but also hygienically clean. After you’ve mopped the entire floor, allow it to dry completely. A dry floor prevents slips and also stops dirt from quickly resettling on the damp surfaces.
Clean Your Bathroom With Us!
Regular maintenance of your bathroom is crucial for preventing the buildup of mold and mildew, which can pose health risks and degrade the quality of your living space. By following the seven comprehensive steps outlined—from decluttering to mopping—you ensure that every corner of your bathroom is not only visually appealing but also maintains a high standard of hygiene. This routine doesn’t just fight against grime and bacteria; it also extends the lifespan of your bathroom’s fixtures and surfaces by keeping them in pristine condition.
However, we understand that life can get busy, and finding the time for a thorough bathroom clean might not always fit into your schedule. That’s where Cleaning Hive comes in. Our professional cleaning services take the burden off your shoulders, ensuring that your bathroom and other areas of your home remain spotless without you having to lift a finger. From deep cleaning services that tackle every nook and cranny to regular maintenance that keeps your home continuously fresh, we have options to suit every need.
For those who want to ensure their bathroom remains a clean and serene retreat without the hassle, consider setting up a regular cleaning schedule with us. Visit our website to explore our services and find the cleaning regime that works best for your lifestyle and needs. At Cleaning Hive, we’re dedicated to making every part of your home shine, allowing you to relax and enjoy a cleaner, healthier living environment.