Renovations can breathe new life into your home, but they also leave behind a hefty mess. If you’re staring at dust-covered surfaces and debris everywhere, don’t worry! Here are the top five post renovation cleaning hacks to make your home sparkle again.
1. Tackle Dust from Top to Bottom
Dust is the biggest culprit after any renovation, and dealing with it efficiently is crucial for effective post renovation cleaning. To ensure you capture all the dust, start your cleaning process from the highest points of the room and work your way down. This method prevents you from having to re-clean lower surfaces that could get dusty again when you tackle higher areas. Begin by dusting ceiling fans, light fixtures, and shelves. These areas tend to accumulate the most dust during renovations, and cleaning them first allows the debris to fall naturally to surfaces below, where you can deal with it later.
By taking a top-to-bottom approach, you systematically remove dust without spreading it to already cleaned areas. High points like ceiling fans and light fixtures often go unnoticed, yet they harbor significant amounts of dust that can spread throughout the room if not addressed first. As you move downwards, ensure to clean the walls, furniture, and finally, the floors. This methodical approach ensures that every speck of dust is captured, leaving your home truly clean after the renovation chaos.
To maximize efficiency, use tools that trap dust rather than just moving it around. A microfiber cloth or an electrostatic duster are ideal for this purpose. These tools are designed to attract and hold onto dust particles, making the cleaning process much more effective. Microfiber cloths can be particularly useful because they can be used dry or slightly dampened, which enhances their dust-attracting properties.

2. Vacuum Everything, Including the Walls
Vacuuming is an essential step in post renovation cleaning. After a renovation, dust and debris can settle on every surface in your home, including places you might not immediately think of. While it’s easy to remember to vacuum the floors, it’s just as important to tackle walls, windowsills, and any other surfaces where fine dust particles might cling. Using the various attachments that come with your vacuum can help you reach these spots more effectively. The small brush attachment, for example, is perfect for baseboards and windowsills, while the long nozzle can get into the corners and edges where dust tends to accumulate.
Walls can be a surprising source of lingering dust after renovations. Even if they don’t look dirty, they can hold a significant amount of fine particles, especially if you had any drywall work done. Vacuuming the walls might sound unusual, but it’s a crucial step in ensuring that your post renovation cleaning is thorough. Start at the top of the wall and work your way down, overlapping your strokes to ensure you cover every inch. This will help you capture dust that could otherwise become airborne again and resettle on your clean surfaces.
For the most effective post renovation cleaning, consider using a vacuum with a HEPA filter. HEPA (High-Efficiency Particulate Air) filters are designed to trap smaller particles that standard vacuums might miss. This can be especially beneficial if you’re dealing with very fine dust from materials like drywall or wood. Renting a HEPA vacuum can make a noticeable difference, capturing even the smallest particles and improving the overall air quality in your home.
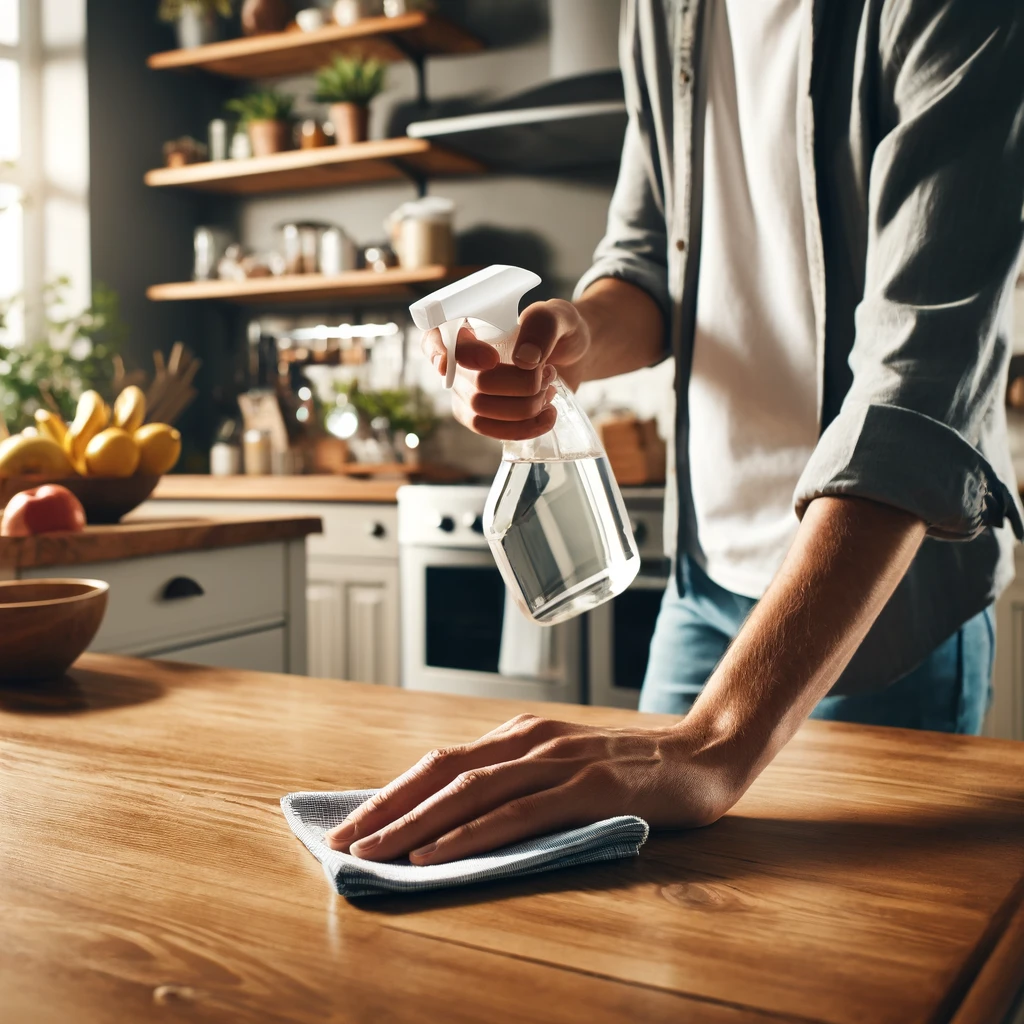
3. Wipe Down All Surfaces
After you have tackled the dust and vacuumed thoroughly, the next crucial step in post renovation cleaning is to wipe down all surfaces. This step ensures that any remaining dust particles and grime are effectively removed, leaving your home spotless. Using a damp cloth is ideal because it can capture and hold onto dust rather than spreading it around. Start by wiping down the countertops and cabinets, which are likely to have collected a lot of dust during the renovation. Make sure to get into all the corners and edges, as these areas can harbor hidden dust and debris.
Pay special attention to baseboards and other low surfaces, which can often be overlooked. Baseboards, in particular, can accumulate a surprising amount of dust and grime, especially if the renovation involved any work on the floors. A thorough wipe-down of these areas can significantly improve the overall cleanliness of your home. Don’t forget to clean door frames, window sills, and any other horizontal surfaces where dust might settle. Using a systematic approach will ensure that you don’t miss any spots and that your post renovation cleaning is comprehensive.
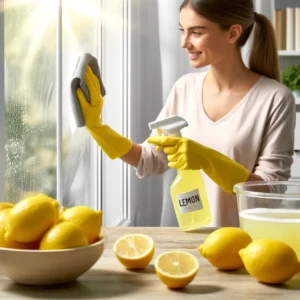
For an even more effective clean, add a bit of vinegar to your cleaning water. Vinegar is a natural cleaner that cuts through dust and grime effortlessly. It’s safe for most surfaces and leaves no harmful residues behind. The slight acidity of vinegar helps to break down any stubborn dirt, making it easier to wipe away. This can be particularly useful in kitchens and bathrooms, where grease and other residues might be present.
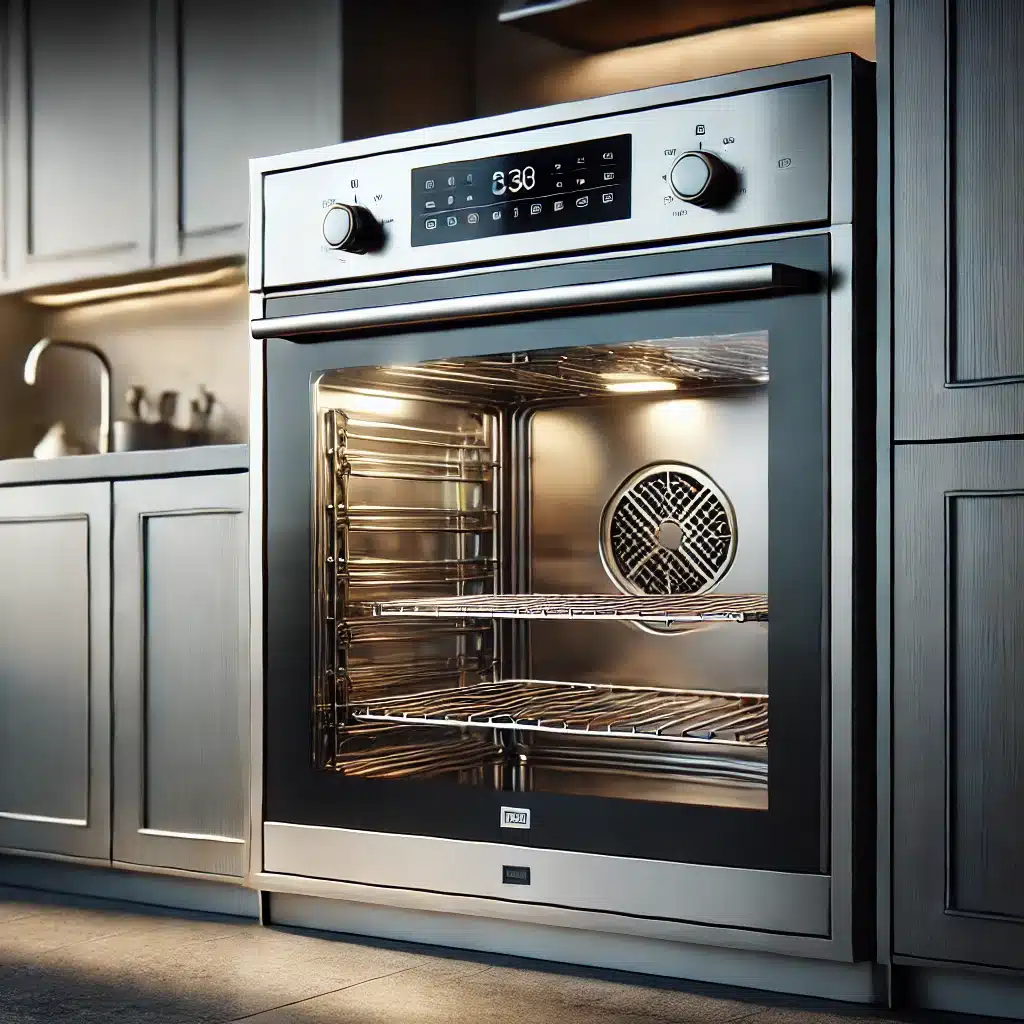
4. Clean Air Vents and Replace Filters
One of the most overlooked aspects of post renovation cleaning is the impact on your HVAC system. Renovation activities can release a significant amount of dust and debris, much of which can find its way into your air vents and ducts. This can not only reduce the efficiency of your HVAC system but also negatively affect the air quality in your home. To address this, it’s crucial to remove vent covers and vacuum inside the ducts thoroughly. This helps to eliminate any trapped dust and debris that could be circulating through your home every time the HVAC system is in use.
Replacing the air filters in your HVAC system is equally important in post renovation cleaning. Dust from renovations can quickly clog up these filters, making it difficult for your system to function efficiently. A clogged filter not only hampers the performance of your HVAC system but also recirculates dust and allergens throughout your home, which can be detrimental to your indoor air quality. By replacing these filters, you ensure that your system operates smoothly and that the air in your home remains clean and healthy.
Before reinstalling vent covers, take an extra step to clean them thoroughly. Using a damp cloth to wipe the vent covers will catch any remaining dust that might have settled on them during the renovation. This simple act can prevent dust from re-entering your cleaned ducts and ensure that your post renovation cleaning efforts are not in vain.
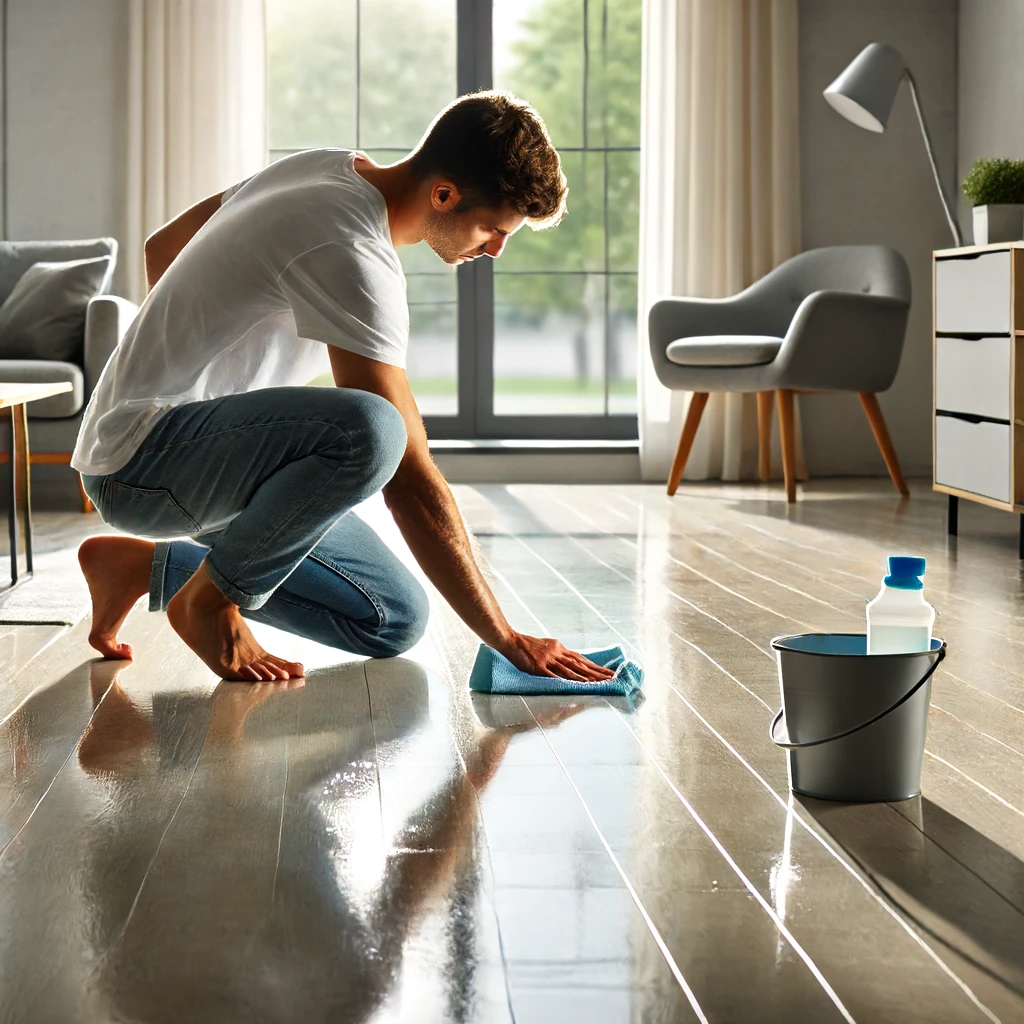
5. Don’t Forget the Floors
In the final phase of your post renovation cleaning, it’s crucial to pay special attention to your floors. Floors bear the brunt of renovation activities, collecting a significant amount of dust, dirt, and debris. Begin by thoroughly vacuuming or sweeping the entire area. This initial step will help you remove the larger particles and surface-level dirt that has settled on the floors. Make sure to reach under furniture and in corners, where dust can easily accumulate and be overlooked.
Once you’ve removed the loose dirt, the next step in your post renovation cleaning process is to mop the floors. Mopping not only helps eliminate any remaining dust but also restores the shine and cleanliness of the surface. For tiled or vinyl floors, a standard mop and floor cleaner will do the trick. However, if you have hardwood floors, it is essential to use a cleaner specifically designed for wood. This will ensure that the finish is preserved and that the wood remains in good condition. Avoid using excessive water on hardwood floors, as it can seep into the wood and cause damage over time.
Carpets require a different approach. Renovation dust and debris can penetrate deep into carpet fibers, making it harder to clean with a regular vacuum. To ensure a thorough post renovation cleaning, consider deep cleaning your carpets. You can either rent a carpet cleaner or hire professional steam cleaning services. These methods can effectively remove embedded dust and refresh the appearance of your carpets. A deep-cleaned carpet not only looks better but also contributes to improved indoor air quality by removing allergens and dust particles that could otherwise be circulated in the air.
By thoroughly cleaning your floors, you complete the final step in your post renovation cleaning process, ensuring that every part of your home is free from the remnants of construction. Clean floors are essential for maintaining a healthy living environment and contribute significantly to the overall aesthetics of your newly renovated space. This meticulous attention to detail in your cleaning routine will leave your home looking pristine and feeling comfortable, making the renovation efforts truly worthwhile.
Post Renovation Cleaning With Cleaning Hive!
Post renovation cleaning might seem daunting, but with these hacks, you’ll have your home back to its pristine condition in no time. Remember, starting from the top and working your way down ensures that you don’t miss any spots. By vacuuming thoroughly, wiping down surfaces, cleaning air vents, and focusing on floors, you can tackle the mess efficiently. Happy cleaning!
Effective post renovation cleaning is more than just a chore—it’s a way to reclaim and enjoy your newly renovated space. The process might seem overwhelming at first, but breaking it down into manageable steps can make it much more achievable. By starting from the highest points in the room and gradually working your way down, you can systematically eliminate dust and debris without the frustration of having to re-clean areas. This methodical approach ensures that every part of your home is addressed, leaving no corner untouched.
A thorough vacuuming session, especially with the help of a HEPA filter, can make a significant difference in capturing fine dust particles that might otherwise escape. Wiping down all surfaces with a damp cloth, especially those hard-to-reach spots, helps in removing residual dust and grime, making your space look and feel cleaner. Don’t forget to clean air vents and replace filters to improve air quality, and give special attention to your floors—whether they are hardwood, tile, or carpet—to ensure that every part of your home is immaculate.