Hardwood floors add warmth and elegance to any home, but keeping them looking their best can be a challenge. Whether you’re a seasoned homeowner or new to hardwood floor care, these essential tips will help you maintain your floors and keep them shining for years to come.
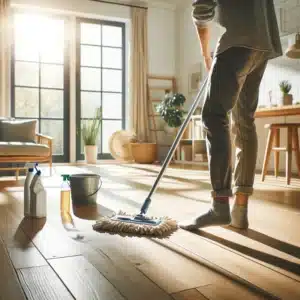
1. Regular Sweeping or Vacuuming
Sweeping or vacuuming your hardwood floor regularly is essential to maintaining its pristine appearance and longevity. Dust and dirt particles, though small, can act like sandpaper, gradually scratching the surface and dulling the finish. By incorporating a consistent cleaning routine, you can significantly reduce the risk of surface damage. Ideally, you should sweep or vacuum your hardwood floor daily in high-traffic areas and at least once a week in less frequented spaces. This regular maintenance keeps your floors looking their best and extends their lifespan.
When choosing tools for cleaning your hardwood floor, it’s crucial to select ones that are gentle yet effective. A soft-bristled broom is a great option for sweeping, as it can easily gather dust and debris without scratching the surface. For those who prefer vacuuming, a vacuum with a floor-brush attachment is ideal. This attachment is specifically designed to clean hardwood floors, ensuring that the suction effectively removes dirt while the brush prevents any abrasive damage to the finish. Investing in the right cleaning tools can make a noticeable difference in preserving the beauty of your hardwood floor.
Consistency is key when it comes to maintaining a hardwood floor. Beyond just sweeping or vacuuming, being mindful of the type of footwear you allow on your floors can also help minimize dirt and scratches. For example, avoiding high heels or shoes with sharp edges can prevent dents and scratches. Additionally, placing doormats at entryways can trap dirt and debris before they have a chance to reach your hardwood floor.
2. Use the Right Cleaning Products
Choosing the right cleaning products for your hardwood floor is crucial for maintaining its beauty and durability. The market is flooded with various cleaners, but it’s essential to select those specifically formulated for hardwood. Harsh chemicals can strip away the protective finish, leading to dullness and potential damage over time. Instead, opt for gentle, pH-balanced cleaners that effectively remove dirt and grime while preserving the integrity of the wood. These specialized cleaners are designed to clean without leaving residue, ensuring your hardwood floor stays vibrant and healthy.
It’s not just about picking the right cleaner; it’s also about using it correctly. Always adhere to the manufacturer’s instructions on the product label. These guidelines are tailored to ensure the best results without causing harm to your hardwood floor. For instance, some cleaners might need to be diluted with water, while others can be applied directly. Understanding and following these instructions will help you achieve a thorough clean while protecting your floor’s finish. This attention to detail can make a significant difference in the appearance and longevity of your hardwood floor.
In addition to the cleaner itself, consider the tools you use to apply it. A microfiber mop is an excellent choice as it is gentle on the wood and effective at trapping dirt. Unlike traditional string mops, microfiber mops use minimal water and cleaner, reducing the risk of water damage. When applying the cleaner, ensure your mop is only damp, not wet, to avoid excess moisture that can seep into the wood and cause warping or staining.
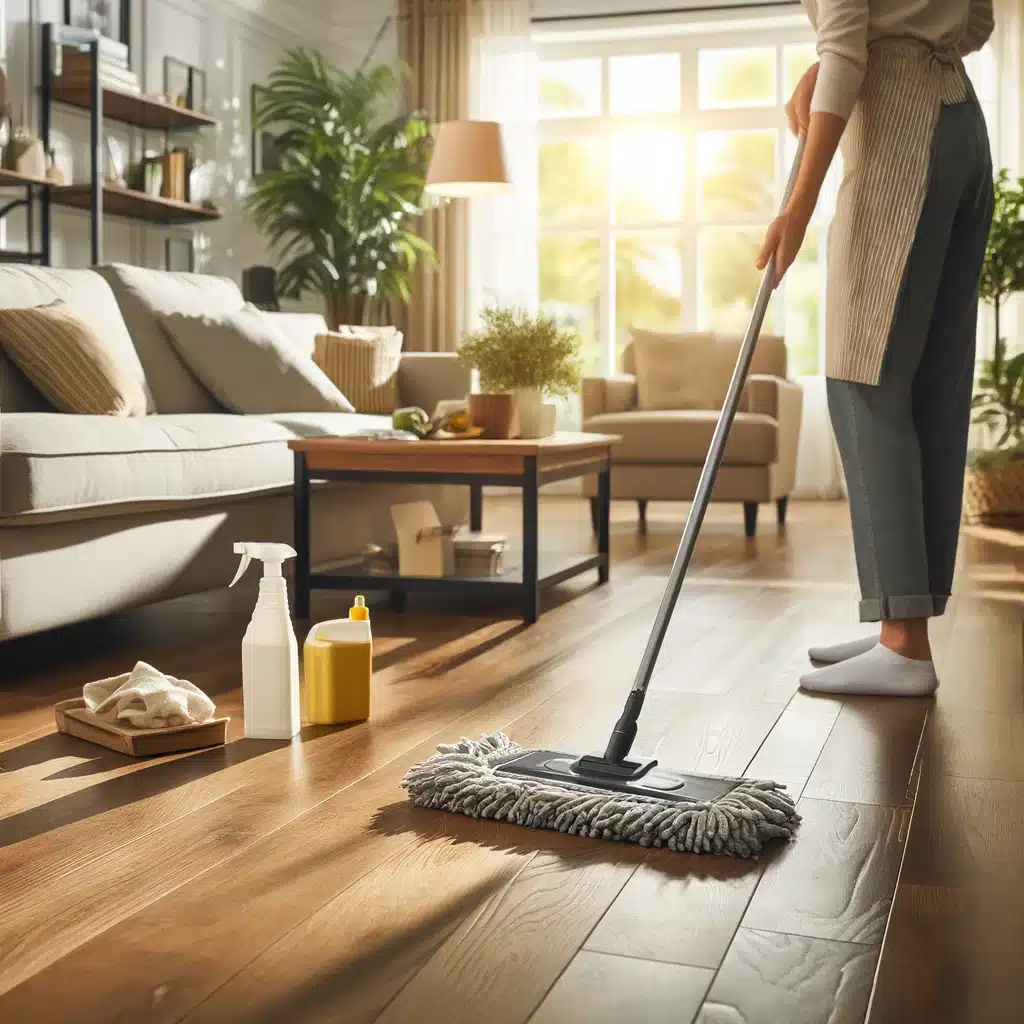
3. Damp Mopping Technique
The damp mopping technique is an essential method for cleaning your hardwood floor without causing damage. Excessive water is particularly harmful to hardwood floors, as it can seep into the seams and cause the wood to swell, warp, or even stain. When you mop, it’s crucial to ensure that the mop is only damp and not soaking wet. This means thoroughly wringing out the mop before you begin, leaving just enough moisture to lift dirt and grime without saturating the wood.
A microfiber mop is highly recommended for this task. Unlike traditional mops, microfiber mops are designed to use minimal water while effectively trapping dirt and debris. The fine fibers of a microfiber mop can pick up particles that other mops might leave behind, ensuring a cleaner surface without the risk of water damage. Additionally, microfiber mops are gentle on the finish of your hardwood floor, preventing scratches and maintaining the floor’s natural shine. This type of mop also allows for even distribution of the cleaning solution, making the cleaning process more efficient and effective.
It’s also important to develop a good mopping routine to protect your hardwood floor. Depending on the level of traffic your floors experience, you might need to mop weekly or even bi-weekly. However, always be cautious about the amount of water you use. After mopping, make sure the floor dries quickly by improving air circulation, either by opening windows or using fans. This helps to ensure that no moisture remains on the surface, further preventing any potential damage.
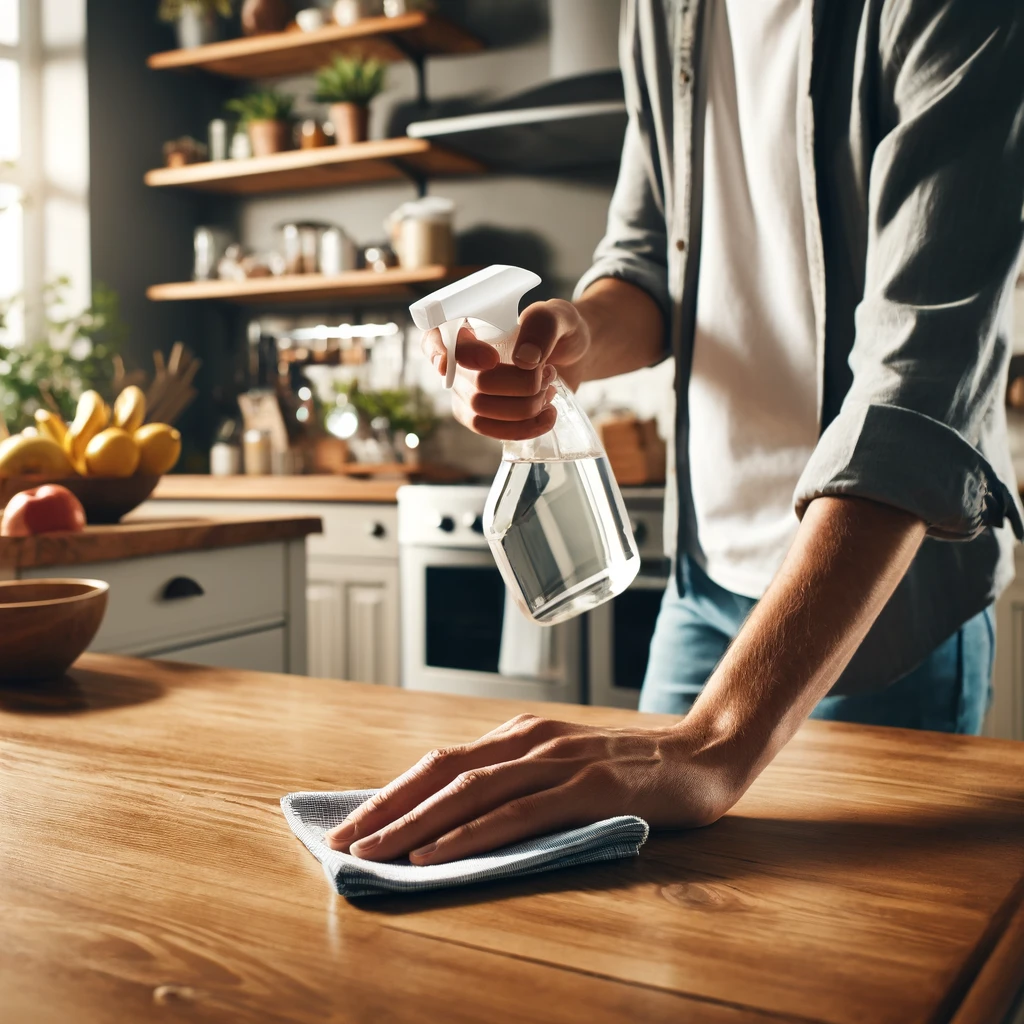
4. Wipe Up Spills Immediately
Handling spills immediately is a critical aspect of maintaining the beauty and integrity of your hardwood floor. Accidents are inevitable, whether it’s a spilled drink, a splash of sauce, or any other liquid. The key is to act quickly. Liquids left on the floor can penetrate the wood, leading to unsightly stains, swelling, or even permanent damage. Having a soft, absorbent cloth readily available allows you to address spills the moment they happen, minimizing the risk to your hardwood floor.
For everyday spills, a quick wipe with a dry or slightly damp cloth is usually sufficient. However, some spills might be stickier or more stubborn, requiring a bit more effort. In these cases, using a damp cloth with a small amount of hardwood floor cleaner can be very effective. The cleaner helps to break down the spill without harming the finish of your floor. It’s important to choose a cleaner that is specifically designed for hardwood floors, as other products might be too harsh and could strip the finish or leave a residue. By carefully addressing these messes, you can keep your hardwood floor looking its best.
Preventative measures can also make a big difference in managing spills. Consider placing mats or rugs in areas prone to spills, such as under dining tables or near kitchen counters. These can catch spills before they reach the hardwood floor. Additionally, educating household members about the importance of quick cleanup can foster a proactive approach to floor care.
5. Protect High-Traffic Areas
Protecting high-traffic areas is essential for maintaining the appearance and longevity of your hardwood floor. Entryways, hallways, and other frequently used spaces are particularly vulnerable to wear and tear due to constant foot traffic. One effective strategy to mitigate this wear is to use rugs or runners. These coverings can absorb the impact of footsteps, trap dirt, and prevent direct contact with the floor, thereby reducing the risk of scratches and dents. Additionally, strategically placed rugs can enhance the aesthetic appeal of your space, adding warmth and style while safeguarding your hardwood floor.
It’s important to choose the right type of rug for these high-traffic areas. Opt for durable rugs that can withstand heavy use and are easy to clean. To ensure safety and effectiveness, make sure these rugs have non-slip pads underneath. Non-slip pads not only prevent the rugs from shifting and causing potential slips but also provide an extra layer of cushioning, further protecting your hardwood floor from damage. This combination of a durable rug and a non-slip pad creates a robust defense against daily wear and tear, preserving the pristine condition of your hardwood floors.
Regular maintenance of these protective rugs is also crucial. Shake them out or vacuum them frequently to remove accumulated dirt and debris that could otherwise be transferred to your hardwood floor. Periodically wash or professionally clean the rugs to keep them in top condition. By maintaining the cleanliness and functionality of your protective rugs, you ensure they continue to serve their purpose effectively.
6. Prevent Scratches with Furniture Pads
Preventing scratches from furniture is crucial in maintaining the pristine appearance of your hardwood floor. One of the simplest and most effective methods to achieve this is by applying felt pads to the bottoms of furniture legs. These pads act as a cushion, reducing the friction between the furniture and the hardwood floor. This not only prevents scratches but also makes moving furniture easier and quieter. It’s important to regularly check these felt pads and replace them as they wear out, ensuring continuous protection for your floors.
In addition to felt pads, there are other protective measures you can take, especially for heavier pieces of furniture. Floor protectors or caster cups are excellent for distributing the weight of heavy furniture more evenly across the hardwood floor. This distribution minimizes the risk of dents and scratches caused by concentrated pressure points. Using these protective devices can be particularly beneficial for items like sofas, bookcases, and dining tables, which tend to stay in one place for long periods. By taking these precautions, you can significantly reduce the likelihood of your hardwood floor sustaining damage from everyday use.
Another consideration is the arrangement and movement of furniture in your home. When rearranging furniture, always lift pieces rather than dragging them across the floor. Dragging can cause severe scratches and gouges that are difficult to repair. If lifting is not an option, consider using furniture sliders, which allow you to move heavy items smoothly without risking damage to your hardwood floor.
7. Regular Refinishing
Regular refinishing is an essential aspect of maintaining the long-term beauty and durability of your hardwood floor. Despite your best efforts in cleaning and protecting your floors, everyday wear and tear will inevitably take its toll. Over time, you’ll start to notice dullness, scratches, and minor damage that cleaning alone can’t fix. This is where refinishing comes in, as it can breathe new life into your hardwood floor, restoring its original luster and providing a fresh, protective layer that extends its lifespan.
The process of refinishing a hardwood floor typically involves sanding down the surface to remove the old finish and any surface imperfections. This step is crucial as it smooths out scratches, scuffs, and minor dents, creating a clean slate for the new finish. Once the sanding is complete, a new coat of finish is applied. This finish not only enhances the wood’s natural beauty but also provides a protective barrier against future wear and tear. Depending on the type of finish used, this can also offer additional benefits like increased durability, UV protection, and resistance to moisture and stains.
Determining how often to refinish your hardwood floor depends on several factors, including the level of foot traffic in your home. In high-traffic areas, refinishing might be necessary every three years to maintain optimal appearance and protection. In areas with less use, you might be able to extend this interval to five years or more. Regularly inspecting your floors for signs of wear can help you decide the best timing for refinishing.
Conclusion
Maintaining the beauty of your hardwood floors doesn’t have to be a daunting task. By following these essential tips, you can ensure your floors remain a stunning feature of your home for years to come. Regular sweeping, using the right products, and protecting high-traffic areas are just a few steps that make a big difference. Keep these tips in mind, and your hardwood floors will continue to shine bright and add charm to your home.
In addition to these DIY methods, sometimes professional help is needed to keep your hardwood floors in their best condition. This is where services like Cleaning Hive come into play. Cleaning Hive offers specialized cleaning solutions tailored to your hardwood floor needs, providing the expertise and equipment necessary to tackle even the toughest of jobs. Whether it’s deep cleaning, stain removal, or refinishing, their team of professionals ensures that your floors receive the highest standard of care. By opting for professional services, you not only save time and effort but also achieve results that are difficult to match with regular household cleaning.
For more cleaning tips and services, visit Cleaning Hive. We’re here to help you keep your home sparkling clean! Additionally, consider partnering with Cleaning Hive for those times when you need an extra hand with maintaining your hardwood floors. Their dedicated team is committed to delivering exceptional service, helping you preserve the natural beauty and longevity of your floors.