How to Hire the Right Cleaner for Your House: 5 Essential Tips

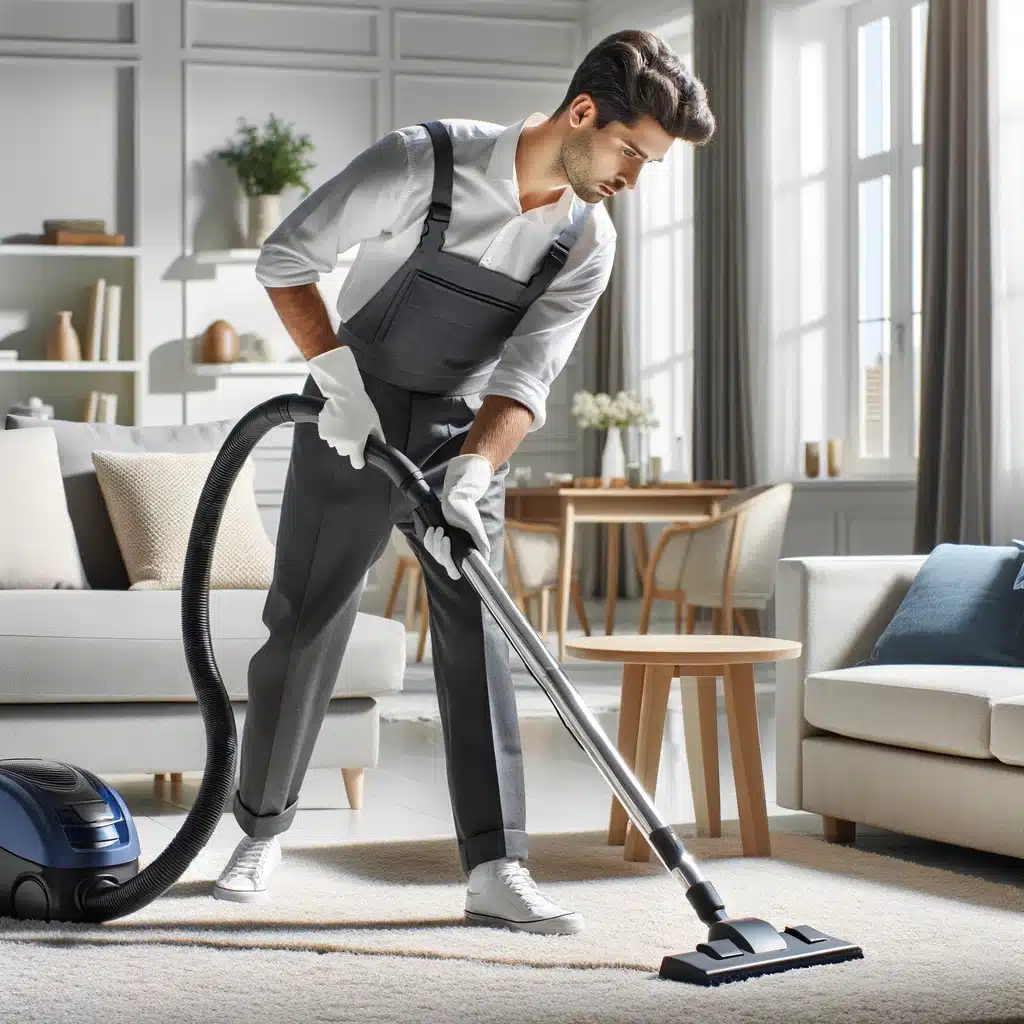
Professional cleaner vacuuming carpet in bright, modern living room.

Share This Post

Are you tired of spending your weekends scrubbing floors and dusting shelves? Hiring a professional cleaner can be a game-changer, giving you more free time and a spotless home. But with so many options out there, how do you choose the right cleaner for your house? Here are five essential tips to guide you through the process.

1. Determine Your Cleaning Needs

Before you start searching for a cleaner, it’s crucial to understand your specific cleaning needs. Every household has different requirements, and identifying yours is the first step towards hiring the right professional. Do you need a one-time deep clean to prepare for an event or tackle seasonal grime? Or perhaps you’re looking for regular weekly maintenance to keep your home consistently tidy? Each of these scenarios demands a different approach and potentially different skills from your cleaner. By pinpointing exactly what you need, you can narrow down your search to cleaners who specialize in those areas.

Consider the specific tasks you want your cleaner to handle. This could range from basic duties like vacuuming, dusting, and mopping to more intensive chores such as scrubbing bathrooms, cleaning out the fridge, or organizing closets. Think about any particular areas in your home that require special attention, like high-traffic zones, pet areas, or rooms that tend to get cluttered quickly. Making a comprehensive list of these tasks will give you a clear picture of your expectations and help you communicate them effectively to prospective cleaners.

Additionally, think about how often you need these tasks completed. Some households benefit from a weekly visit, while others might only need bi-weekly or monthly sessions. If you require specialized services, such as post-construction cleaning or move-in/move-out cleaning, it’s important to seek out a cleaner with experience in those areas. These services often require more thorough and meticulous work, so having someone knowledgeable can make a significant difference in the quality of the clean. Understanding your cleaning needs in detail ensures that you hire a cleaner who can provide the exact services you require, leading to a more satisfactory and stress-free experience.


Homeowner with checklist chats with housekeeper in bright, tidy living room.


2. Check Reviews and Recommendations

One of the best ways to find a reliable cleaner is through word-of-mouth. Personal recommendations can be incredibly valuable, as they come from people you trust who have firsthand experience with the cleaner. Start by asking friends, family, or neighbors if they can recommend someone. Often, these recommendations will give you insight into the cleaner’s work ethic, reliability, and the quality of their service. A cleaner who comes highly recommended by someone you know is likely to be a good fit.

In addition to personal recommendations, it’s essential to check online reviews on platforms like Google, Yelp, and social media. These reviews can provide a broader perspective on the cleaner’s performance and reputation. When reading reviews, pay close attention to comments about punctuality, professionalism, and the quality of work. Look for patterns in the feedback—consistent praise or recurring complaints can give you a clear picture of what to expect. A cleaner with consistently positive feedback and high ratings is likely to provide a reliable and satisfactory service.

While online reviews and personal recommendations are crucial, it’s also beneficial to dig a little deeper into the feedback. Reach out to some of the reviewers if possible and ask them about their experiences in more detail. Sometimes, a direct conversation can reveal nuances that a written review might not cover. For instance, you might learn more about the cleaner’s flexibility, how they handle specific requests, or their approach to dealing with unexpected issues. Gathering as much information as possible from various sources will help you make a well-informed decision, ensuring that you choose a cleaner who meets your expectations and provides excellent service.

3. Verify Credentials and Experience

When hiring a cleaner, you want someone who is both trustworthy and skilled. Ensuring that your potential cleaner has the right credentials and experience is a critical step in this process. Start by checking if the cleaner has the necessary insurance and bonding. This not only protects your home and belongings in case of damage or theft but also shows that the cleaner takes their profession seriously. An insured and bonded cleaner provides peace of mind, knowing that you are covered if any issues arise.

Experience is another crucial factor to consider. An experienced cleaner is likely to be more efficient and knowledgeable about the best cleaning practices and products. They will have developed effective techniques over time and can handle various cleaning challenges with ease. Ask potential cleaners about their work history and the types of homes and tasks they have managed. A cleaner with a diverse portfolio will be better equipped to meet your specific needs, whether it’s dealing with stubborn stains, delicate surfaces, or large areas.

Additionally, look for any relevant certifications or training the cleaner might have. Certifications from recognized organizations can indicate a higher level of professionalism and dedication to the craft. These credentials often involve training in the latest cleaning methods, safety protocols, and environmentally friendly practices. A certified cleaner is likely to be up-to-date with industry standards and can provide a higher quality of service. By thoroughly verifying the credentials and experience of potential cleaners, you ensure that you hire someone who is not only skilled but also reliable and trustworthy. This due diligence will lead to a cleaner who can deliver excellent results and maintain the cleanliness of your home effectively.

 

Person in protective gear cleaning bathtub in a ventilated bathroom. A cleaner


4. Interview Potential Cleaners

Don’t be afraid to interview potential cleaners. This step is crucial as it allows you to ask important questions and gauge their professionalism firsthand. Conducting an interview gives you the opportunity to assess not only their skills and experience but also their communication style and reliability. It’s an essential part of the hiring process that ensures you select a cleaner who meets your specific needs and standards.

During the interview, consider asking about their experience and duration in the cleaning business. A cleaner with several years of experience is likely to have encountered a wide range of cleaning challenges and developed efficient techniques to handle them. You can also inquire whether they bring their own cleaning supplies or if you need to provide them. This can help you understand their level of preparedness and the types of products they use. If you have preferences for eco-friendly products, this is the time to discuss them and see if the cleaner is comfortable and experienced with using green cleaning solutions.

Furthermore, ask for references from previous clients. A reputable cleaner should have no trouble providing references who can vouch for their reliability and quality of work. Speaking to former clients can give you insights into what it’s like to work with the cleaner and confirm their professionalism and effectiveness. During the interview, also pay attention to the cleaner’s demeanor and communication skills. A face-to-face meeting can reveal whether their personality and work style align with your expectations. A cleaner who communicates clearly, listens to your needs, and presents themselves professionally is likely to be a good fit for maintaining your home.

Finally, use the interview to discuss any specific requirements or preferences you have. Whether it’s the frequency of cleaning, particular tasks you want to be prioritized, or the handling of delicate items, ensure that the cleaner understands and is capable of meeting your expectations. By conducting thorough interviews, you can make a well-informed decision and hire a cleaner who not only has the skills and experience but also the right attitude and approach to maintain the cleanliness and comfort of your home.

5. Discuss Pricing and Services

When hiring a cleaner, it’s crucial to have a clear understanding of pricing and the services included. Different cleaners have varying pricing structures, so you need to determine whether they charge by the hour or have fixed rates for specific tasks. An hourly rate might be more suitable for general cleaning or ongoing services, while fixed rates can be beneficial for one-time deep cleans or specialized tasks. Understanding these differences will help you compare options and choose a cleaner that fits your budget and needs.

Transparency is key when discussing pricing. Make sure to ask about any potential hidden fees that could arise. Some cleaners may have additional charges for using their own supplies, traveling to your location, or performing particularly challenging tasks. By clarifying these details upfront, you can avoid surprises and budget accordingly. It’s also helpful to discuss what exactly is covered in the cleaning service. For instance, does the basic rate include kitchen and bathroom cleaning, or are these considered add-ons? Having a detailed conversation about the scope of work ensures that both you and the cleaner have aligned expectations.

Additionally, consider any extra services you might require. Perhaps you need occasional deep cleaning, window washing, or carpet shampooing in addition to regular maintenance. Discussing these needs early on allows the cleaner to provide a comprehensive quote and ensures they are prepared to deliver the services you want. Once you have agreed on the pricing and services, it’s wise to get a written agreement. This document should outline the tasks to be performed, the frequency of visits, the cost, and any other pertinent details. A written agreement helps to prevent misunderstandings and provides a clear reference for both parties, ensuring a smooth and professional relationship with your cleaner.

Having a detailed discussion about pricing and services not only helps you make an informed decision but also sets the foundation for a transparent and professional relationship. It ensures that the cleaner understands your needs and expectations, and you are aware of what you are paying for. This level of clarity is essential for maintaining satisfaction and trust, leading to a more positive and effective cleaning experience for your home.


Busy professional organizing housekeeping tasks at a cluttered desk with computer and phone.


The Right Cleaner For Your Needs

Hiring the right cleaner for your house doesn’t have to be a daunting task. By determining your cleaning needs, you can start the process on the right foot, knowing exactly what services you require. This initial step sets the foundation for a smooth search and ensures that you can find a cleaner who matches your specific expectations. Once you have a clear idea of your needs, checking reviews and recommendations from trusted sources helps you narrow down your options to those who have a proven track record of reliability and quality service. Reviews can provide invaluable insights into the experiences of others, making your decision-making process much more informed.

Verifying credentials and experience is another crucial aspect of hiring a cleaner. Ensuring that the cleaner has the appropriate insurance, bonding, and certifications gives you peace of mind that you are dealing with a professional who takes their job seriously. Experience is equally important, as it often translates into efficiency and expertise. When you move on to interviewing potential cleaners, this is your chance to assess their professionalism, communication skills, and compatibility with your household’s specific needs. An interview allows you to ask detailed questions and get a feel for whether the cleaner’s work style aligns with what you’re looking for.

Discussing pricing and services in detail helps to avoid any misunderstandings down the line. Make sure that everything is clearly outlined, from the tasks included to the costs involved. This clarity ensures that both parties have the same expectations, leading to a smoother and more satisfactory working relationship. By covering all these bases, you can find a reliable and efficient cleaner who will keep your home sparkling clean. Remember, a little research and preparation go a long way in ensuring you get the best service possible.

More To Explore

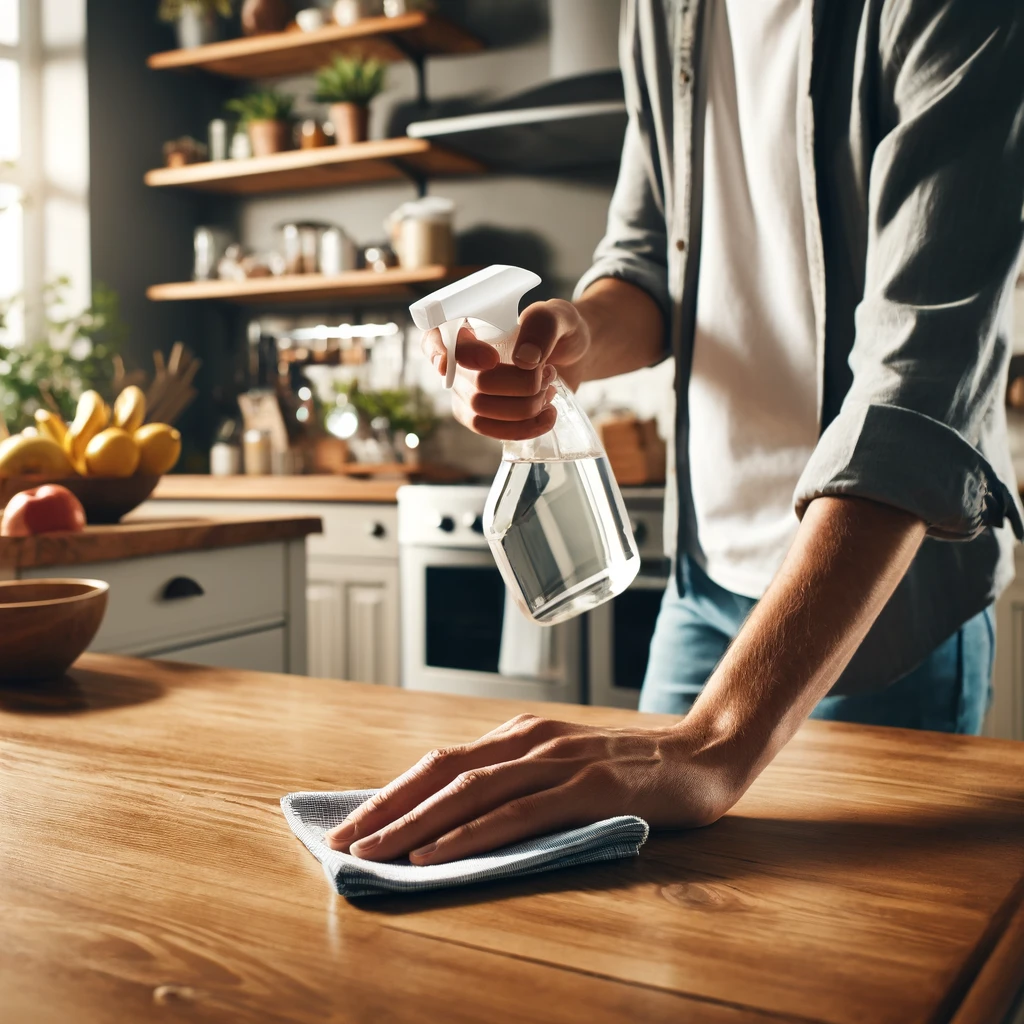
Person cleaning kitchen table with vinegar spray in casual attire.
Blog

How to Clean High-Traffic Areas: 5 Simple Steps

High-traffic areas in your home, like hallways, living rooms, and kitchens, tend to get dirty quickly. These spots endure more foot traffic, spills, and general wear and tear, making regular cleaning essential to keep them looking fresh and tidy. Here are five simple steps to effectively clean these busy zones: 1. Declutter the Area Decluttering a high-traffic area is the first and most crucial step in the cleaning process. These busy zones in your home tend to accumulate a variety of items—shoes, bags, jackets, and other everyday belongings that can quickly clutter the space. Before you can effectively clean, it’s essential to remove these items to create a clear workspace. By clearing the clutter, not only do you make the cleaning process easier, but you also get a better sense of what areas need the most attention. This step sets the stage for a more thorough and efficient cleaning session, ensuring that every corner of your high-traffic area gets the care it needs. To streamline the decluttering process, consider using baskets or bins to temporarily hold out-of-place items. This approach helps you quickly gather and organize belongings without spending too much time sorting through them immediately. Once your cleaning is complete, you can then return these items to their proper places. This method not only speeds up the cleaning process but also helps maintain order in high-traffic areas, making them easier to manage on a daily basis. Keeping these areas free of unnecessary items will make regular cleaning simpler and more effective, ensuring that your high-traffic zones remain tidy and welcoming.     2. Vacuum Thoroughly Vacuuming thoroughly is an essential step when it comes to maintaining cleanliness in any high-traffic area. These spaces are magnets for dirt, dust, and debris, which can quickly accumulate and become embedded in carpets and rugs. A powerful vacuum with strong suction is your best ally in tackling this buildup. By making multiple passes over the area, you ensure that even the most stubborn particles are lifted from the surface. It’s important not to overlook the edges and corners of the room, as these spots often harbor hidden dust that can contribute to a less-than-pristine environment. When vacuuming a high-traffic area, especially if it includes carpets or rugs, utilizing the vacuum’s brush roll feature can significantly enhance the cleaning process. The brush roll agitates the carpet fibers, loosening ground-in dirt and allowing the vacuum to pick it up more effectively. This is particularly crucial in areas where foot traffic is heavy, as the repeated pressure can push dirt deep into the fibers. Ensuring that your vacuum is set to the appropriate mode for the surface you’re cleaning not only improves the efficiency of your efforts but also helps maintain the longevity of your flooring, keeping your high-traffic areas looking fresh and clean for longer.     3. Spot Clean Stains In high-traffic areas, spills and stains are practically unavoidable, given the constant movement and activity these spaces endure. The key to maintaining the appearance of these areas is prompt action. As soon as you notice a spill or stain, it’s essential to address it immediately before it has a chance to set. High-traffic areas can quickly become unsightly if stains are left untreated, as they are more prone to additional dirt and wear. Selecting the appropriate cleaner for the specific surface is crucial—whether it’s carpet, tile, or hardwood. Gently blotting the stain, rather than rubbing it, helps to lift the spill without spreading it further, which is particularly important in maintaining the look and longevity of the flooring in these busy zones. For carpets in high-traffic areas, a simple solution of warm water mixed with mild dish soap can be highly effective in tackling a variety of common stains. This mixture works well to break down the stain without being overly harsh on the fibers. On the other hand, hardwood floors require special care, as using the wrong cleaning product can damage the finish. A cleaner specifically formulated for wood is recommended to gently lift stains while preserving the floor’s protective coating. Regularly spot cleaning in high-traffic areas not only keeps these spaces looking their best but also prevents long-term damage that could result from neglecting spills and stains. By staying vigilant and addressing issues as they arise, you can maintain a clean and welcoming environment in even the busiest parts of your home. 4. Mop or Deep Clean the Floors After thoroughly vacuuming and spot cleaning, the next essential step in maintaining a high-traffic area is to mop or deep clean the floors. These areas endure significant wear and tear, so regular mopping or deep cleaning is vital to remove the deeper dirt and grime that vacuuming alone cannot address. For tile or laminate flooring, using a damp mop with a mild cleaner is effective in lifting dirt and leaving the surface clean and streak-free. This routine not only enhances the appearance of your high-traffic area but also helps to preserve the integrity of the flooring by removing abrasive particles that can cause scratches over time. When it comes to carpets in a high-traffic area, a deeper clean may be necessary to rejuvenate the fibers and remove embedded dirt that vacuuming might miss. Utilizing a carpet cleaner or steam cleaner can be particularly beneficial, as these tools penetrate deep into the carpet fibers, lifting out grime and restoring the carpet’s appearance. It’s important to be cautious with the amount of water used during the cleaning process, especially if you’re mopping. A mop should be damp rather than soaking wet, as excess water can seep into the flooring and cause damage, particularly with hardwood floors, where too much moisture can lead to warping or discoloration. By carefully managing the cleaning process, you can ensure that your high-traffic areas remain clean, attractive, and in good condition, despite the constant use they experience.     5. Maintain with Regular Touch-Ups Maintaining cleanliness in a high-traffic area requires a consistent routine of regular touch-ups. These busy

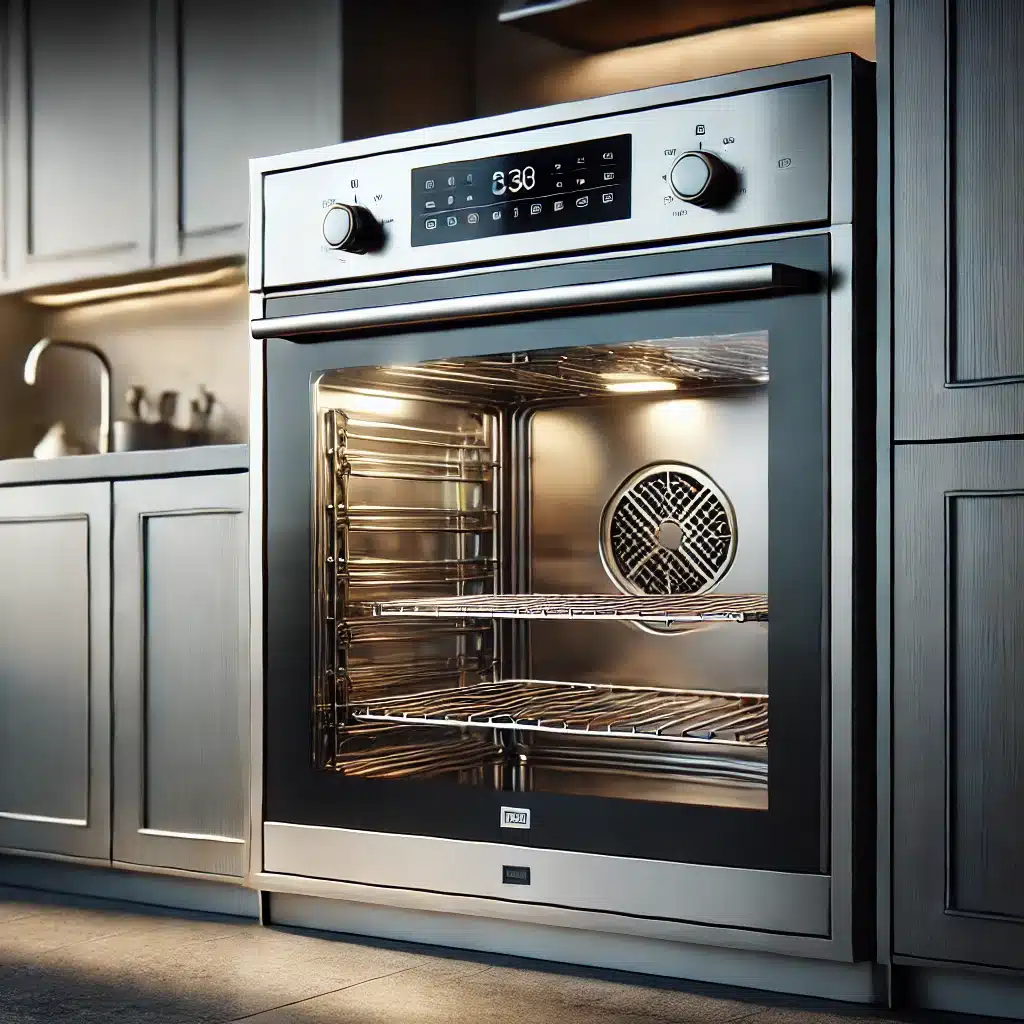
A clean oven
Blog

How to Deep Clean Oven: 5 Simple Tips

If you’ve ever opened your oven and been greeted by a smoky haze or a burnt smell, it’s probably time for a deep clean. Keeping your oven in tip-top shape is essential not just for hygiene but also for the quality of your cooking. Here are five simple tips to help you deep clean your oven and get it looking (and smelling) brand new. A sparkling clean oven not only looks great but also ensures your meals taste their best. However, deep cleaning your oven can be a daunting task if you don’t know where to start. Luckily, with a little know-how, you can tackle this job like a pro. Here are five simple tips to deep clean your oven and get it looking brand new—without using baking soda or vinegar. 1. Preheat and Loosen Grime The first step to a successful deep clean of your oven is to focus on loosening up the stubborn grime that accumulates over time. To start, preheat your oven to a low temperature, around 200°F (93°C), and let it warm up for about 15 minutes. This gentle heating process serves to soften the baked-on grease and food spills that have become caked onto the oven’s surfaces, making them much easier to tackle in the cleaning process that follows. By warming the oven just enough, you create an environment where the grime begins to loosen its grip, allowing for more effective cleaning with minimal effort. This step is crucial because it prepares the oven for a more thorough deep clean, ensuring that when you move on to the next phases, the dirt and grease won’t put up as much of a fight. Once the oven has been preheated and allowed to cool slightly, it’s in the perfect state to proceed with your deep cleaning routine. The warmth not only softens the grime but also helps any cleaning agents you apply afterward to penetrate and break down the stubborn residues more efficiently. This initial step sets the stage for a more manageable and less labor-intensive cleaning process, ultimately leading to a sparkling clean oven that’s free from the buildup that can affect its performance. By taking the time to properly loosen grime at the outset, you ensure that your efforts to deep clean your oven are more effective, leaving you with an appliance that looks and functions like new. 2. Apply a Commercial Oven Cleaner After you’ve prepared your oven by loosening the grime, the next critical step in your deep clean oven process is to apply a commercial oven cleaner. These cleaners are specially formulated to break down tough grease and stubborn residues that have accumulated over time. When choosing a cleaner, it’s essential to pick one that’s suitable for your specific oven type. For instance, if you have a self-cleaning or non-stick model, ensure that the product is compatible to avoid any potential damage. Once you’ve selected the right cleaner, apply it generously across all interior surfaces of the oven, taking care to avoid spraying the heating elements directly. The goal here is to cover every area where grease and grime tend to build up, including the walls, floor, and even the door. Allow the commercial cleaner to sit for the amount of time recommended by the manufacturer, typically between 15 to 30 minutes. This waiting period is crucial as it gives the cleaner enough time to penetrate the layers of baked-on food and grease, breaking them down effectively. As the cleaner works its magic, it loosens the tough stains and residues, making them easier to wipe away later. By following these instructions carefully, you ensure that your deep clean oven routine is both safe and effective, leaving your appliance sparkling clean and ready for use. This step not only enhances the cleanliness of your oven but also contributes to its overall efficiency and longevity, ensuring that it continues to perform at its best. 3. Use a Scraper for Stubborn Spots Once the oven cleaner has had sufficient time to break down the grime, it’s time to address any remaining stubborn spots with a scraper. A plastic scraper or spatula is ideal for this task, as it effectively lifts off the baked-on residues without damaging the surface of your oven. These stubborn spots often accumulate on the oven floor and sides, where food spills are most likely to occur and become hardened over time. By using a scraper, you can gently lift away these tough patches of grime, making your deep clean oven process even more thorough. When using the scraper, it’s important to be gentle and deliberate in your movements to avoid scratching the interior surfaces. Always scrape in a direction that pulls the debris toward you, rather than pushing it further into the oven. This technique not only protects the oven’s surface but also ensures that you’re effectively removing the loosened grime. By carefully working through these tough spots, you’ll be able to restore the oven’s interior to a pristine condition. This step is crucial in achieving a deep clean oven, as it addresses the areas that even the best cleaners might struggle to tackle on their own, leaving you with a truly spotless appliance.     4. Soak and Scrub Oven Racks As you embark on the deep clean oven process, it’s essential not to overlook the oven racks, which often accumulate as much grease and grime as the interior of the oven itself. Start by carefully removing the racks from the oven and placing them in a large sink or bathtub filled with hot, soapy water. The hot water helps to loosen the baked-on residues, while the soap breaks down the grease, making it easier to scrub away later. Allow the racks to soak for several hours, or even overnight if they are particularly grimy. This soaking period is crucial, as it gives the cleaning agents time to penetrate and soften the tough buildup that has adhered to the racks over time. Once the racks have soaked sufficiently, it’s

Ready for a housekeeping?

drop us a line and keep in touch