Bleach is a powerful cleaning agent that can help keep your home sparkling clean and germ-free. If you’re wondering how to clean with bleach effectively, you’ve come to the right place. Here are seven essential tips to make the most out of your bleach cleaning routine.
1. Understand Bleach Types
Before diving into cleaning, it’s important to know the types of bleach available. The most common type is chlorine bleach, which is great for disinfecting and whitening. Chlorine bleach is highly effective at killing bacteria, viruses, and fungi, making it a go-to for deep cleaning tasks, especially in bathrooms and kitchens. Its strong disinfectant properties ensure that surfaces are not just clean but also hygienic. However, it’s important to handle chlorine bleach with care, as it can be harsh on the skin and damaging to certain fabrics and surfaces if not used properly.
On the other hand, oxygen bleach is a milder alternative that is less harsh and suitable for colored fabrics and delicate surfaces. Unlike chlorine bleach, oxygen bleach uses hydrogen peroxide or sodium percarbonate to clean and whiten without the same level of intensity. This makes it a preferred choice for laundry, particularly for brightening colored clothes and removing stains without the risk of fading. Additionally, oxygen bleach is more environmentally friendly, breaking down into water and oxygen, which makes it a safer choice for both your home and the planet.
When choosing between these types of bleach, always check the label to ensure you’re using the right one for your cleaning needs. The label provides crucial information on the concentration of the bleach and the appropriate surfaces or fabrics it can be used on. For instance, some bleaches are specially formulated for laundry, while others are designed for hard surfaces. It’s also wise to do a patch test on a small, inconspicuous area if you’re unsure how a particular surface or fabric will react.
2. Dilute Properly
When it comes to using bleach, proper dilution is crucial to ensure effective cleaning while avoiding damage to surfaces and minimizing harmful fumes. Bleach is a powerful cleaner and disinfectant, but its strength can be a double-edged sword if not handled correctly. Using bleach undiluted can lead to the deterioration of surfaces, discoloration of fabrics, and the release of irritating or harmful fumes. To achieve the desired cleaning effect safely, it is essential to follow recommended dilution guidelines.
A standard dilution ratio for disinfecting surfaces is 1/2 cup of bleach per gallon of water. This concentration is strong enough to kill most bacteria, viruses, and fungi on hard surfaces, making it ideal for areas like kitchen countertops, bathroom tiles, and doorknobs. For less intense cleaning tasks, such as wiping down general household surfaces or lightly soiled areas, a mixture of 1/4 cup of bleach per gallon of water is sufficient. This lighter dilution still provides effective cleaning while being gentler on surfaces.
An important tip to remember when mixing bleach is to always add the bleach to the water, not the other way around. This method helps prevent splashes of undiluted bleach, which can cause skin irritation or damage surfaces. By pouring bleach into the water, you also reduce the concentration of fumes released during the mixing process, making it safer to handle.
In addition to proper dilution, it’s essential to use bleach in a well-ventilated area. Even when diluted, bleach can produce fumes that are irritating to the respiratory system. Opening windows or using fans can help disperse these fumes and provide fresh air circulation. Wearing gloves and, if necessary, protective eyewear can also safeguard against accidental splashes and skin contact.
3. Ventilate the Area
Bleach, while highly effective at disinfecting and whitening, releases fumes that can be irritating or harmful if inhaled in concentrated amounts. Proper ventilation helps disperse these fumes, making the air safer to breathe while you work.
To begin, open windows and doors in the area where you are using bleach. This allows fresh air to circulate and helps to quickly dilute and disperse the bleach fumes. If possible, set up a fan to create a steady flow of air through the space. Position the fan near an open window or door to draw in fresh air and push out the fumes. This continuous movement of air significantly reduces the concentration of bleach fumes, making the environment more comfortable and safer for cleaning.
Another important aspect of ventilation when using bleach is to avoid confined spaces. Cleaning small, enclosed areas with bleach can lead to a buildup of fumes, which increases the risk of respiratory irritation. If you must clean a smaller space, such as a bathroom, take breaks to step outside and get some fresh air, and keep the door open to allow for better airflow.
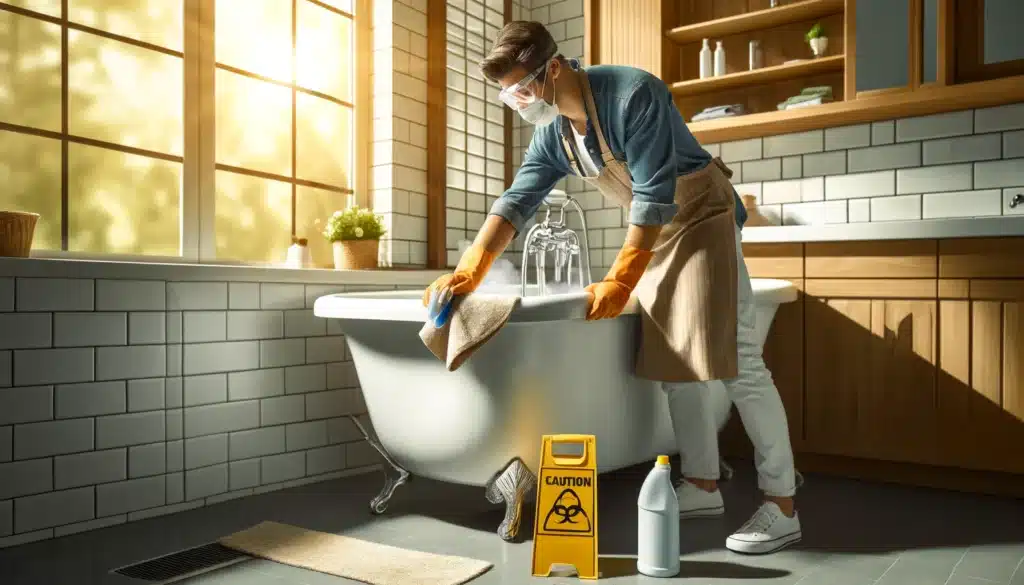
4. Wear Protective Gear
Using bleach is highly effective for cleaning, but it also comes with potential risks, especially for your skin and eyes. To ensure safety while handling bleach, wearing protective gear is essential. Bleach can cause irritation, burns, and other reactions if it comes into direct contact with your skin or eyes. Therefore, taking the right precautions helps prevent these issues and allows you to clean confidently.
First and foremost, always wear gloves when using bleach. Gloves create a barrier between your skin and the bleach, protecting your hands from potential irritation or chemical burns. Choose gloves made of rubber, latex, or another chemical-resistant material for the best protection. They should fit snugly to avoid any accidental slips and ensure full coverage.
In addition to gloves, wearing goggles is crucial to safeguard your eyes. Accidental splashes can occur, and bleach in the eyes can cause severe irritation or even damage. Goggles provide a protective shield, ensuring that your eyes remain safe while you clean. It’s a small step that can prevent a lot of discomfort and potential injury.
Old clothes are another important part of your protective gear when using bleach. Bleach can easily stain or ruin fabrics, so it’s best to wear clothes that you don’t mind getting damaged. Opt for long sleeves and pants to cover as much skin as possible, reducing the risk of accidental splashes reaching your skin. If you have a designated set of “cleaning clothes,” it can make the task more straightforward and less worrisome.
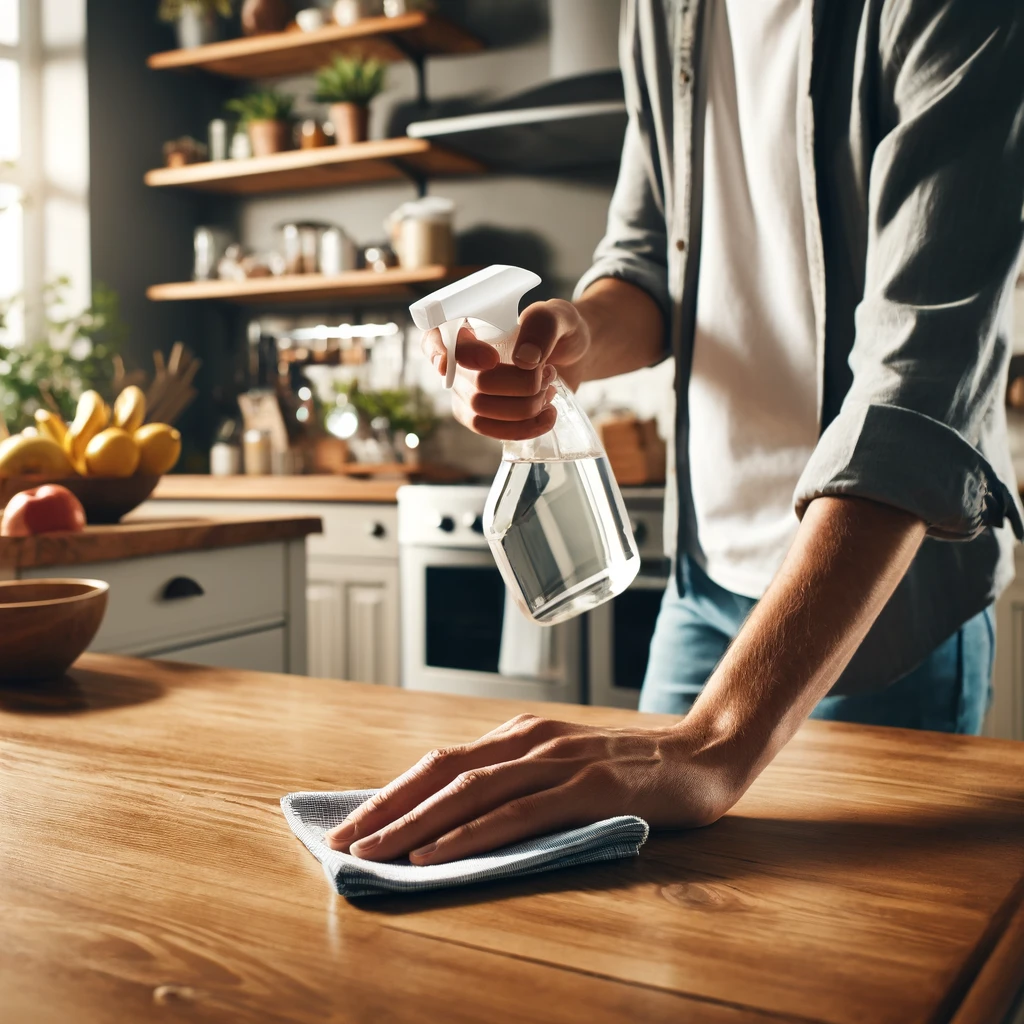
5. Target High-Touch Areas
When using bleach for cleaning, it’s particularly important to focus on high-touch areas. These spots, including doorknobs, light switches, countertops, and bathroom fixtures, are frequently touched by multiple people throughout the day, making them prime breeding grounds for germs and bacteria. Ensuring these areas are thoroughly disinfected helps maintain a cleaner, healthier environment.
Doorknobs are one of the most commonly touched surfaces in any home or office. Every time someone opens or closes a door, they transfer germs to the doorknob. Using a bleach solution to wipe down doorknobs regularly can significantly reduce the risk of spreading infections. Similarly, light switches are constantly used and often overlooked during routine cleaning. A quick wipe with a bleach-dampened cloth can eliminate germs that accumulate from constant use.
Countertops, especially in kitchens and bathrooms, are another critical area to target. In the kitchen, countertops come into contact with various foods, utensils, and hands, creating opportunities for cross-contamination. Using bleach to disinfect these surfaces ensures that any lingering bacteria are effectively killed, making the kitchen safer for food preparation. In the bathroom, countertops can harbor germs from personal hygiene activities, making regular disinfection with bleach essential.
Bathroom fixtures, such as faucets and toilet handles, are notorious for harboring germs due to their frequent use. These fixtures should be cleaned thoroughly with a bleach solution to prevent the spread of bacteria and viruses. A cloth or sponge soaked in a properly diluted bleach solution can be used to wipe these surfaces, ensuring they are disinfected and safe to touch.
6. Rinse Thoroughly
After cleaning with bleach, it’s essential to rinse surfaces with plain water. This step is crucial in removing any residual bleach that might linger, as leftover bleach can cause potential damage or discoloration, particularly on sensitive surfaces such as stainless steel or colored fabrics. Ensuring that all bleach is thoroughly rinsed away helps maintain the integrity and appearance of these materials.
When cleaning countertops, sinks, or other hard surfaces, after applying and wiping down with a bleach solution, take the time to rinse the area with clean water. Use a separate cloth or sponge soaked in water to wipe away any remaining bleach. This not only removes any residual bleach but also helps to neutralize any lingering fumes, making the space safer and more comfortable to use immediately after cleaning.
For floors, mopping with water after using a bleach solution is equally important. Once the floor has been disinfected, a clean water mop ensures that no bleach residue is left behind. This step is particularly vital for households with pets or young children who might come into contact with the floor. Bleach residue can be harmful if ingested or if it comes into prolonged contact with skin, so thorough rinsing is a necessary precaution.
In the laundry room, if you’ve used bleach to whiten or disinfect clothes, it’s crucial to ensure that the fabrics are rinsed well. For hand-washed items, rinse the clothes several times in clean water to remove all traces of bleach. For machine-washed items, an extra rinse cycle can help ensure that the bleach is completely washed out, preserving the color and fabric quality.
When dealing with delicate surfaces like stainless steel, an extra layer of caution is needed. Stainless steel appliances and fixtures are prone to discoloration if bleach residue is left on them. After cleaning, wipe these surfaces with a damp cloth dipped in clean water and then dry them with a soft towel to prevent water spots and maintain their shine.
7. Store Safely
Proper storage of bleach is essential to maintain its effectiveness and ensure safety. Bleach is a chemical that can degrade over time if not stored correctly, losing its potency and becoming less effective for cleaning and disinfecting. To keep your bleach in top condition, it should be stored in a cool, dry place. Exposure to heat and light can cause the bleach to break down, diminishing its disinfecting properties. Therefore, keeping bleach out of direct sunlight is crucial for preserving its strength.
In addition to protecting bleach from environmental factors, it is important to store it in a location that is out of reach of children and pets. Bleach is a hazardous substance, and accidental ingestion or contact can lead to serious health issues. Store it on a high shelf or in a locked cabinet to prevent any accidental access. This precaution helps ensure that bleach is used safely and only by those who understand how to handle it properly.
Another factor to consider is the container in which bleach is stored. Always keep bleach in its original container, which is designed to safely contain the chemical. The original packaging includes important information on usage, dilution ratios, and safety warnings. Refraining from transferring bleach to other containers can prevent accidental misuse and potential chemical reactions if mixed with other substances.
Ensuring that the cap or lid is securely closed after each use is also crucial. A tightly sealed container prevents leaks and reduces the risk of fumes escaping, which can be harmful if inhaled. Moreover, it minimizes the chance of spills that could cause damage to surfaces or harm to individuals who come into contact with the bleach.
Cleaning With Bleach and Caution!
Cleaning with bleach can be a game-changer for maintaining a sparkling and germ-free home. By understanding the different types of bleach, such as chlorine and oxygen bleach, you can choose the right product for your specific cleaning needs. Proper dilution is crucial to maximize its effectiveness while minimizing potential damage and fumes. Ensuring good ventilation when using bleach helps disperse any harmful vapors, creating a safer cleaning environment. Additionally, wearing protective gear like gloves and goggles safeguards your skin and eyes from irritation. Focusing on high-touch areas, such as doorknobs, light switches, and countertops, ensures that you are targeting the spots most likely to harbor germs.
Rinsing thoroughly after using bleach is essential to remove any residual chemicals, which can cause discoloration and damage to sensitive surfaces like stainless steel or colored fabrics. This step also helps ensure that your home remains safe for everyone, including pets and children. Proper storage of bleach in a cool, dry place away from direct sunlight maintains its potency and effectiveness for future use. Keeping it out of reach of children and pets further enhances safety, preventing accidental exposure.
Ready to tackle your next cleaning project with bleach? Give these tips a try and see the difference they make! For more expert cleaning advice and services, check out Cleaning Hive. Their team of professionals can provide you with top-notch cleaning solutions tailored to your needs. From regular housekeeping to deep cleaning and specialized services, Cleaning Hive has you covered.